I have been trying to teach myself Renaissance painting methods for over a year now in my spare time. I have learned so much about paint materials and developing an artistic process. The biggest lesson I’m still working on learning is patience. Everything about this process takes time. Sourcing pigments takes time. Grinding paints takes time. Working in layers and waiting for paint to dry takes time. More time planning and prepping goes into a project than time spent painting.


Drawing has as much, if not more importance than the paint. Especially in master copies, spatial relationships, shapes, and perspective are the fundamental glue that holds the composition together. I now understand why there are so many copies from students working in a master’s studio. Sometimes, the only way to truly understand a painting is to study it as discerningly as you do when you need to recreate it.
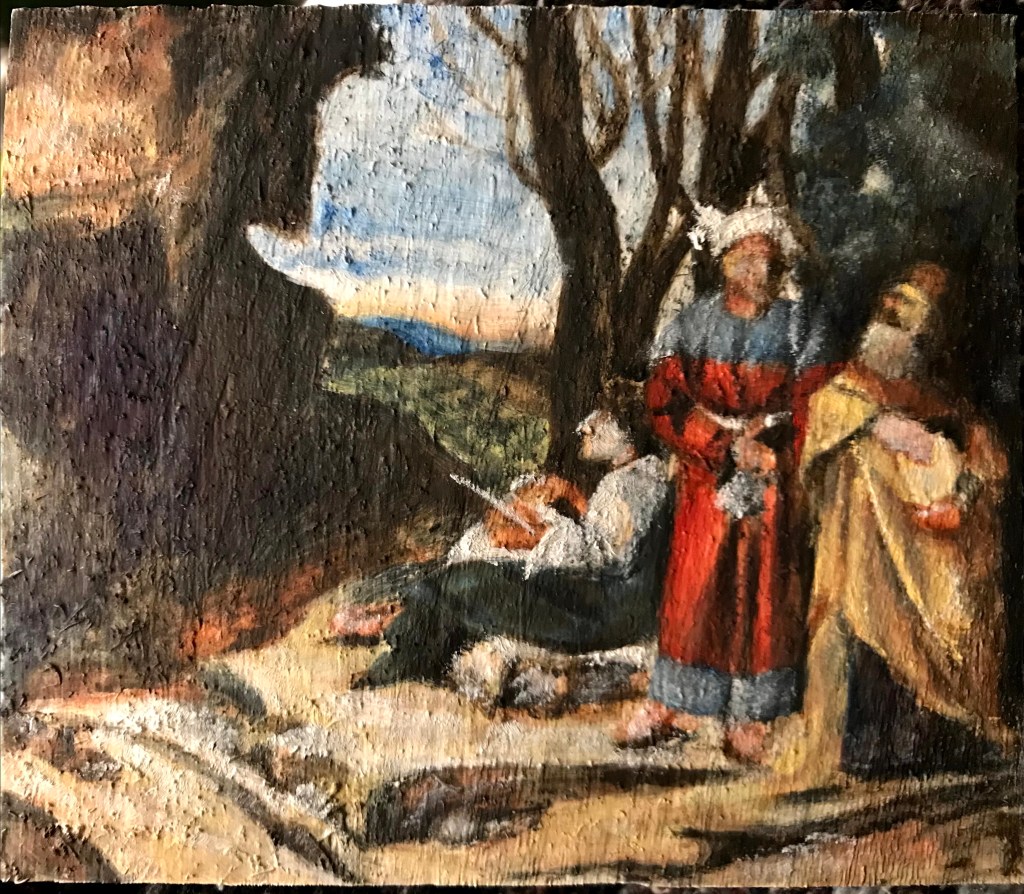
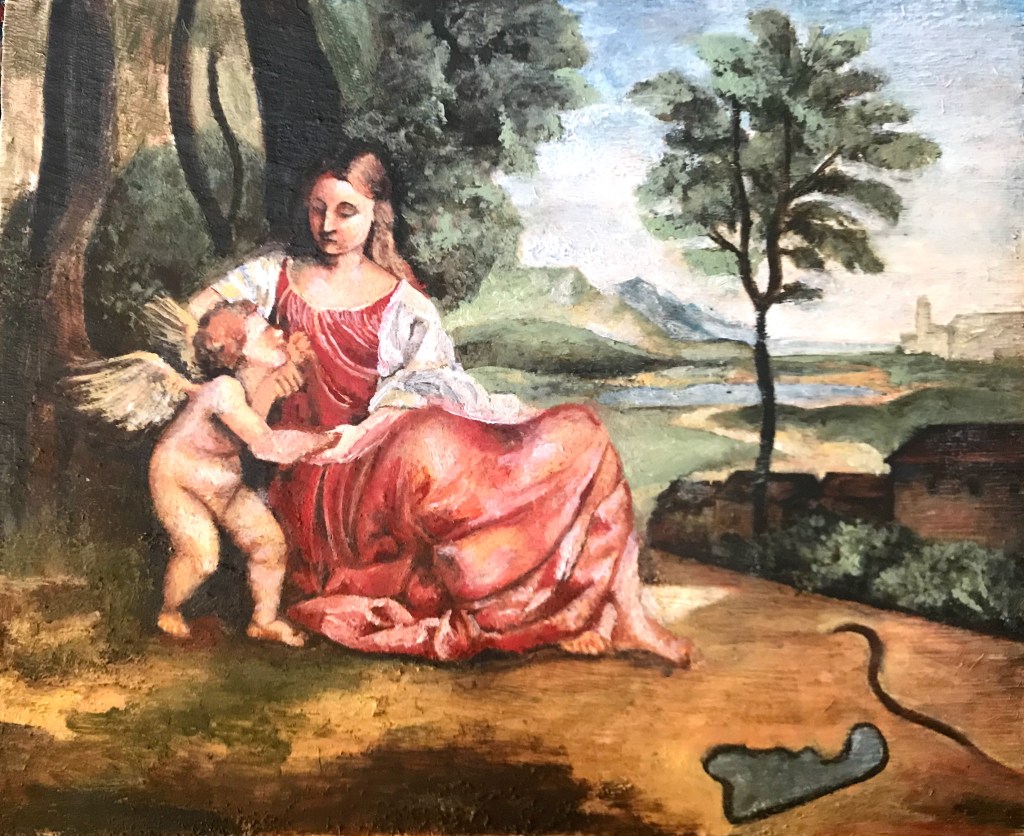
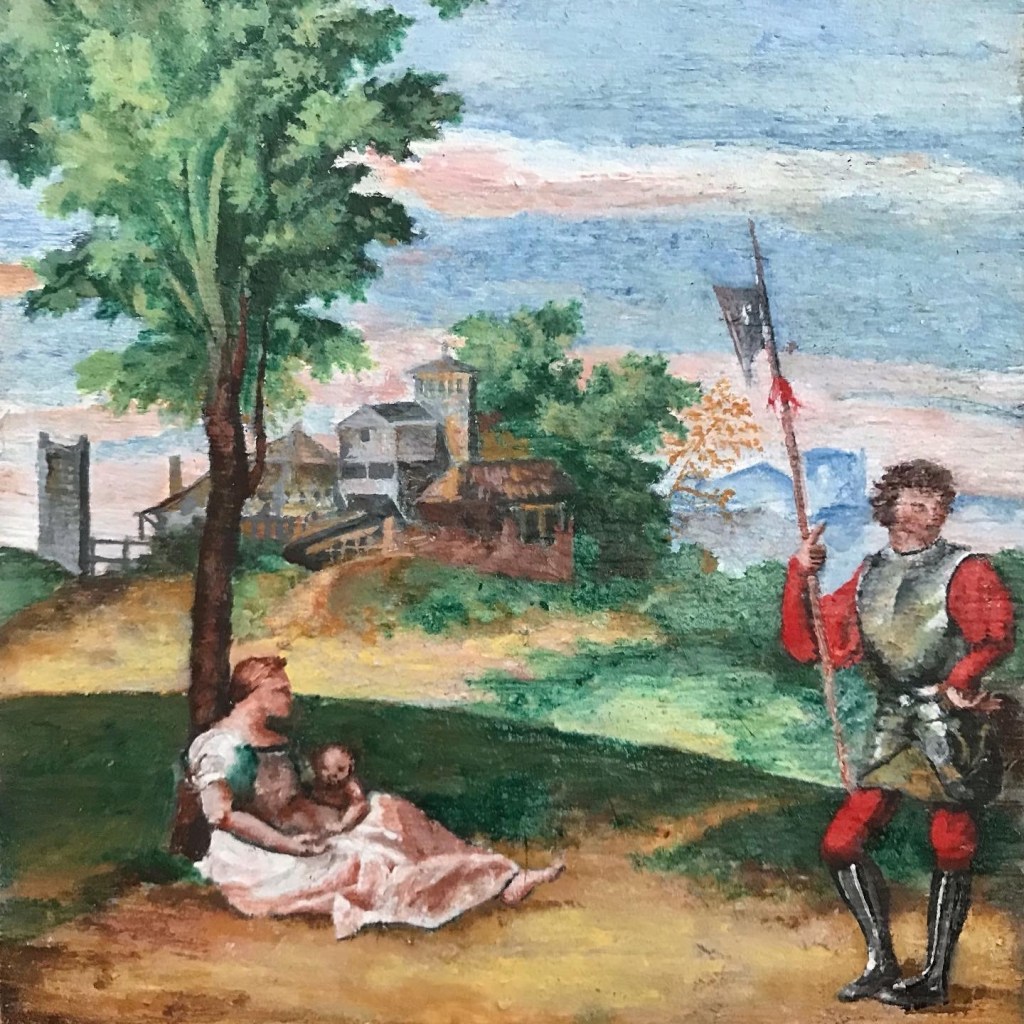
I have developed an approximate Renaissance method after consulting the research that I have found. Much of my research focused on the Venetian masters, so I initially tried to recreate their processes and materials used.
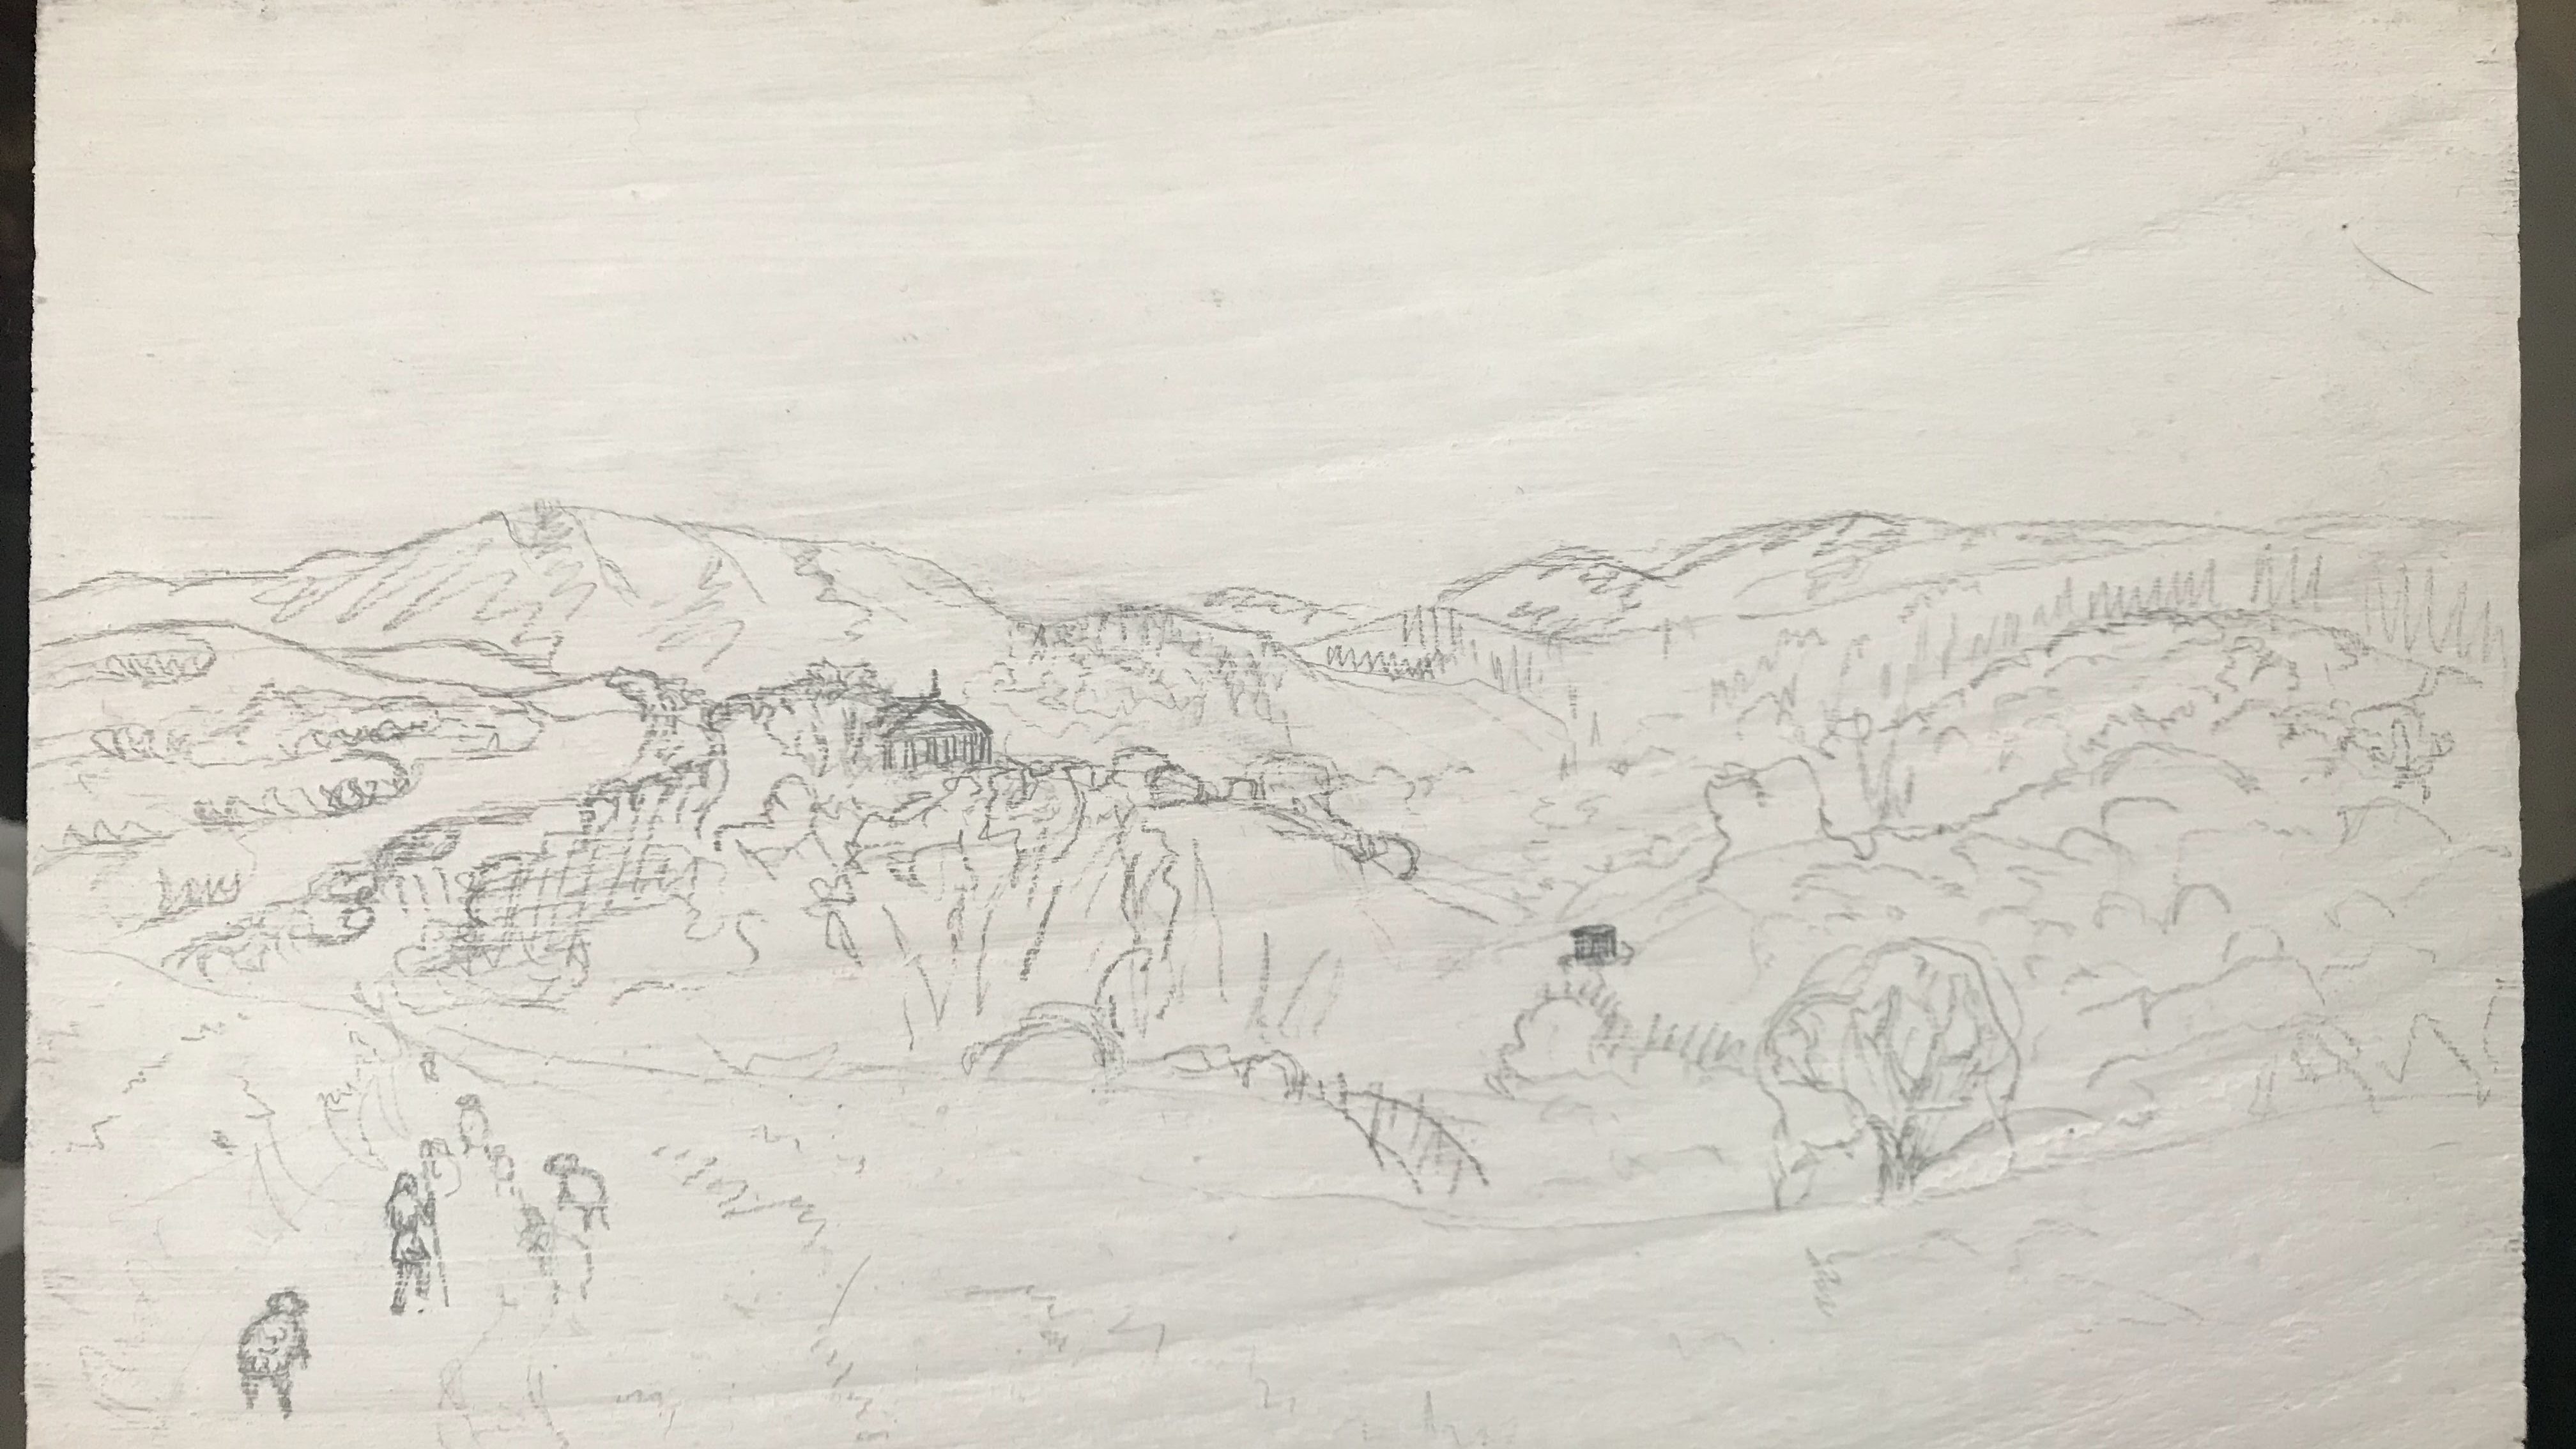
My process begins with preparing a wooden panel with rabbit skin gesso. After applying several layers of gesso and letting it dry, I sand down the surface until it is smooth. Although, I may have been cutting corners on the sanding, admittedly. After the panel is prepared, I make a preliminary underdrawing in pencil.
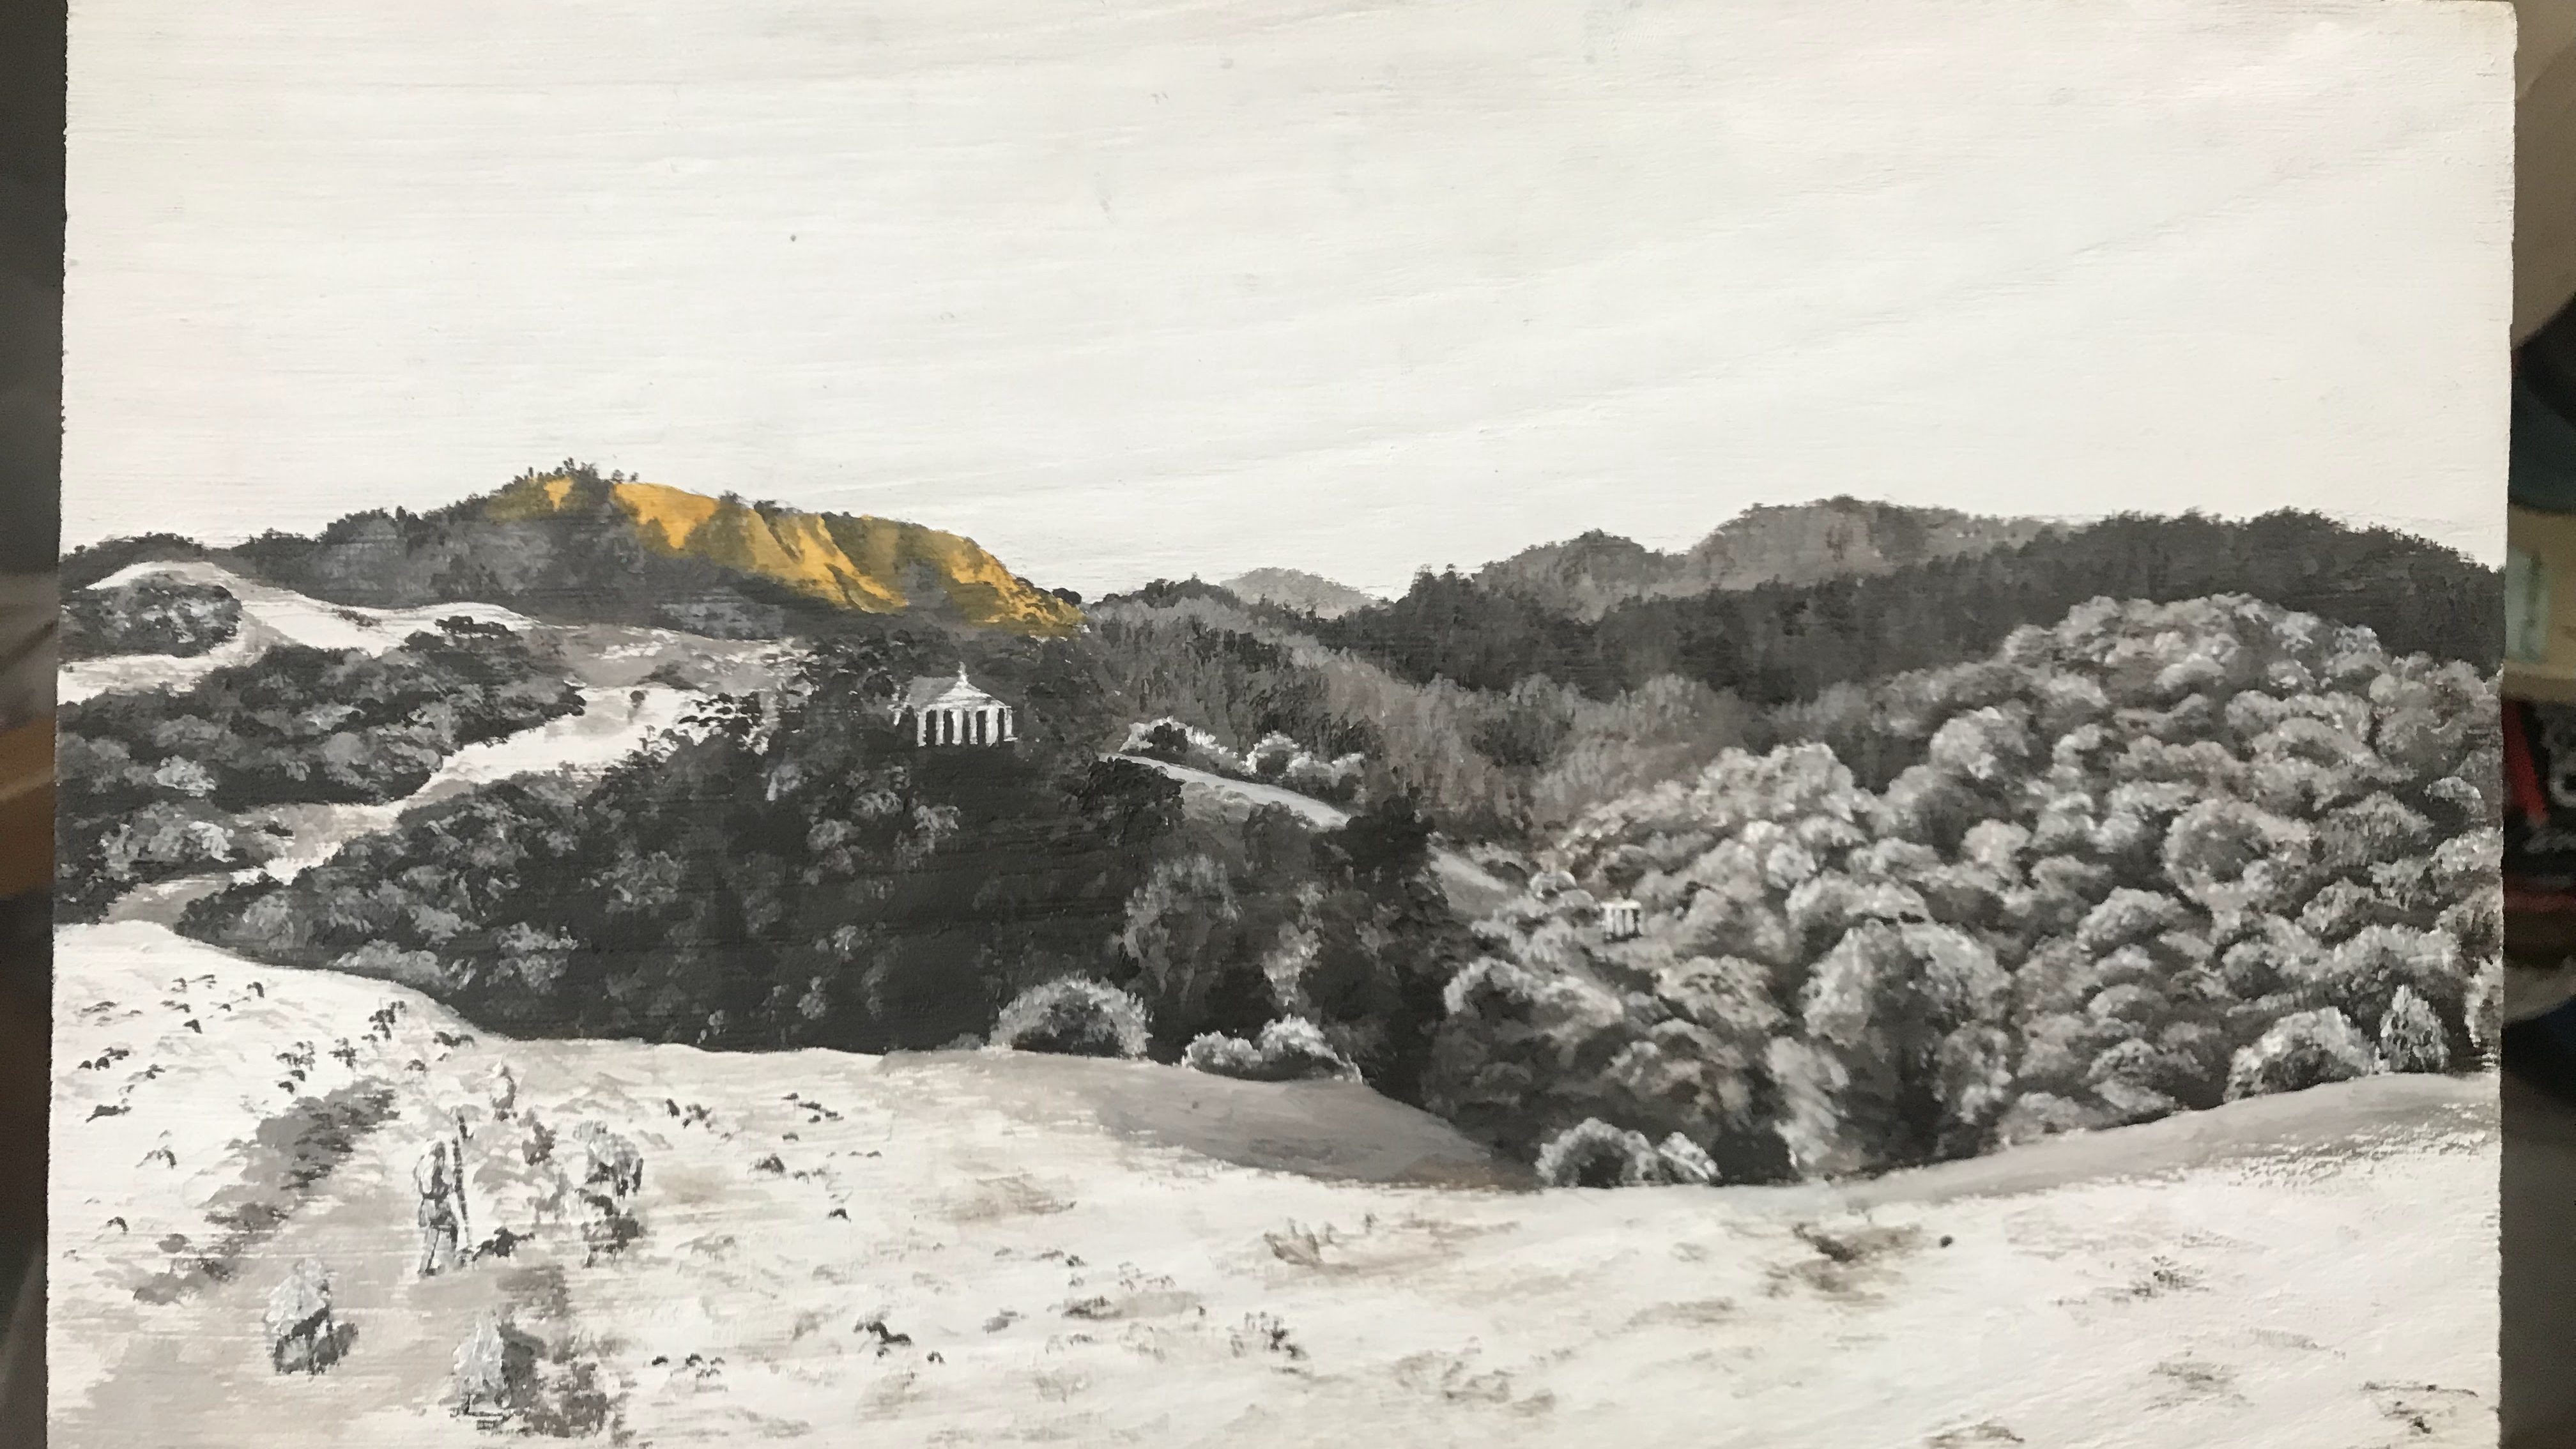
The first paint layer is a grisaille layer which helps to establish tonal values. This layer was commonly done in a black, but I opt to use raw umber.
Once the grisaille layer has dried, I begin to layer on glazes of color. For the glazes, I add a balsam medium which is similar to varnish in consistency. The medium gets mixed with paints to produce smooth, glossy paint strokes. The medium’s effect on the paint contributes to the transparency and radiance of the layers.
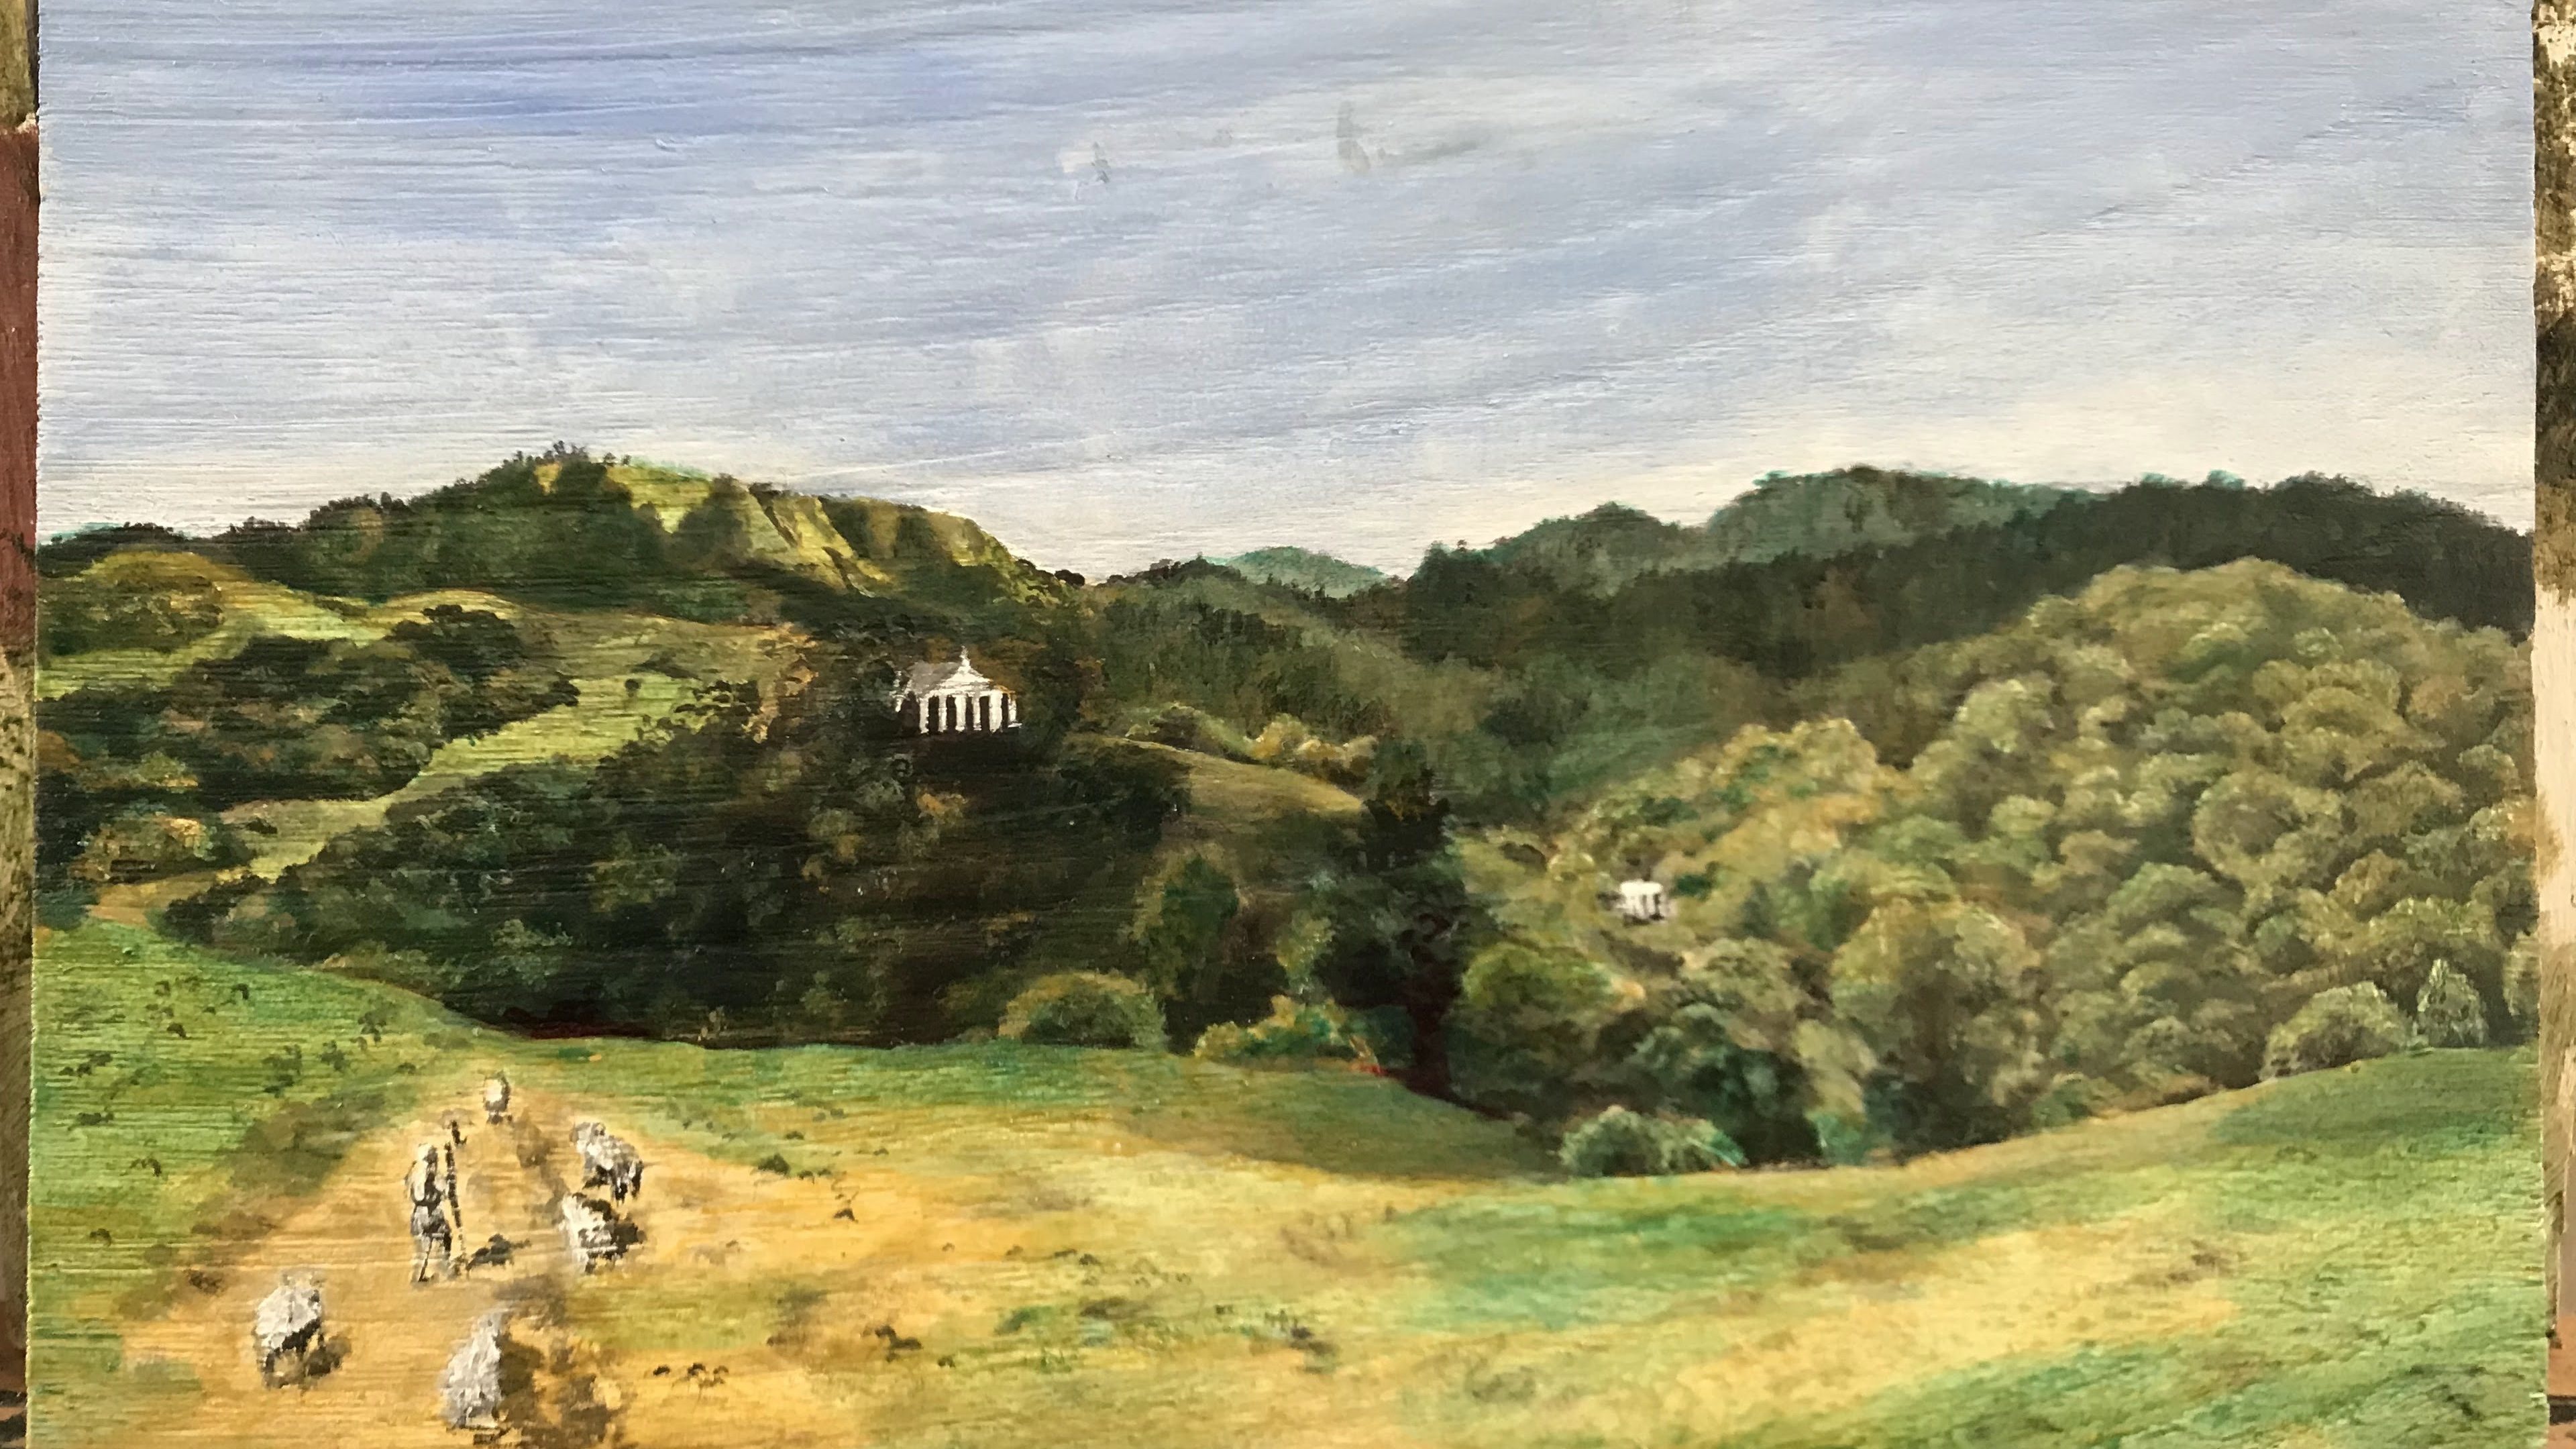
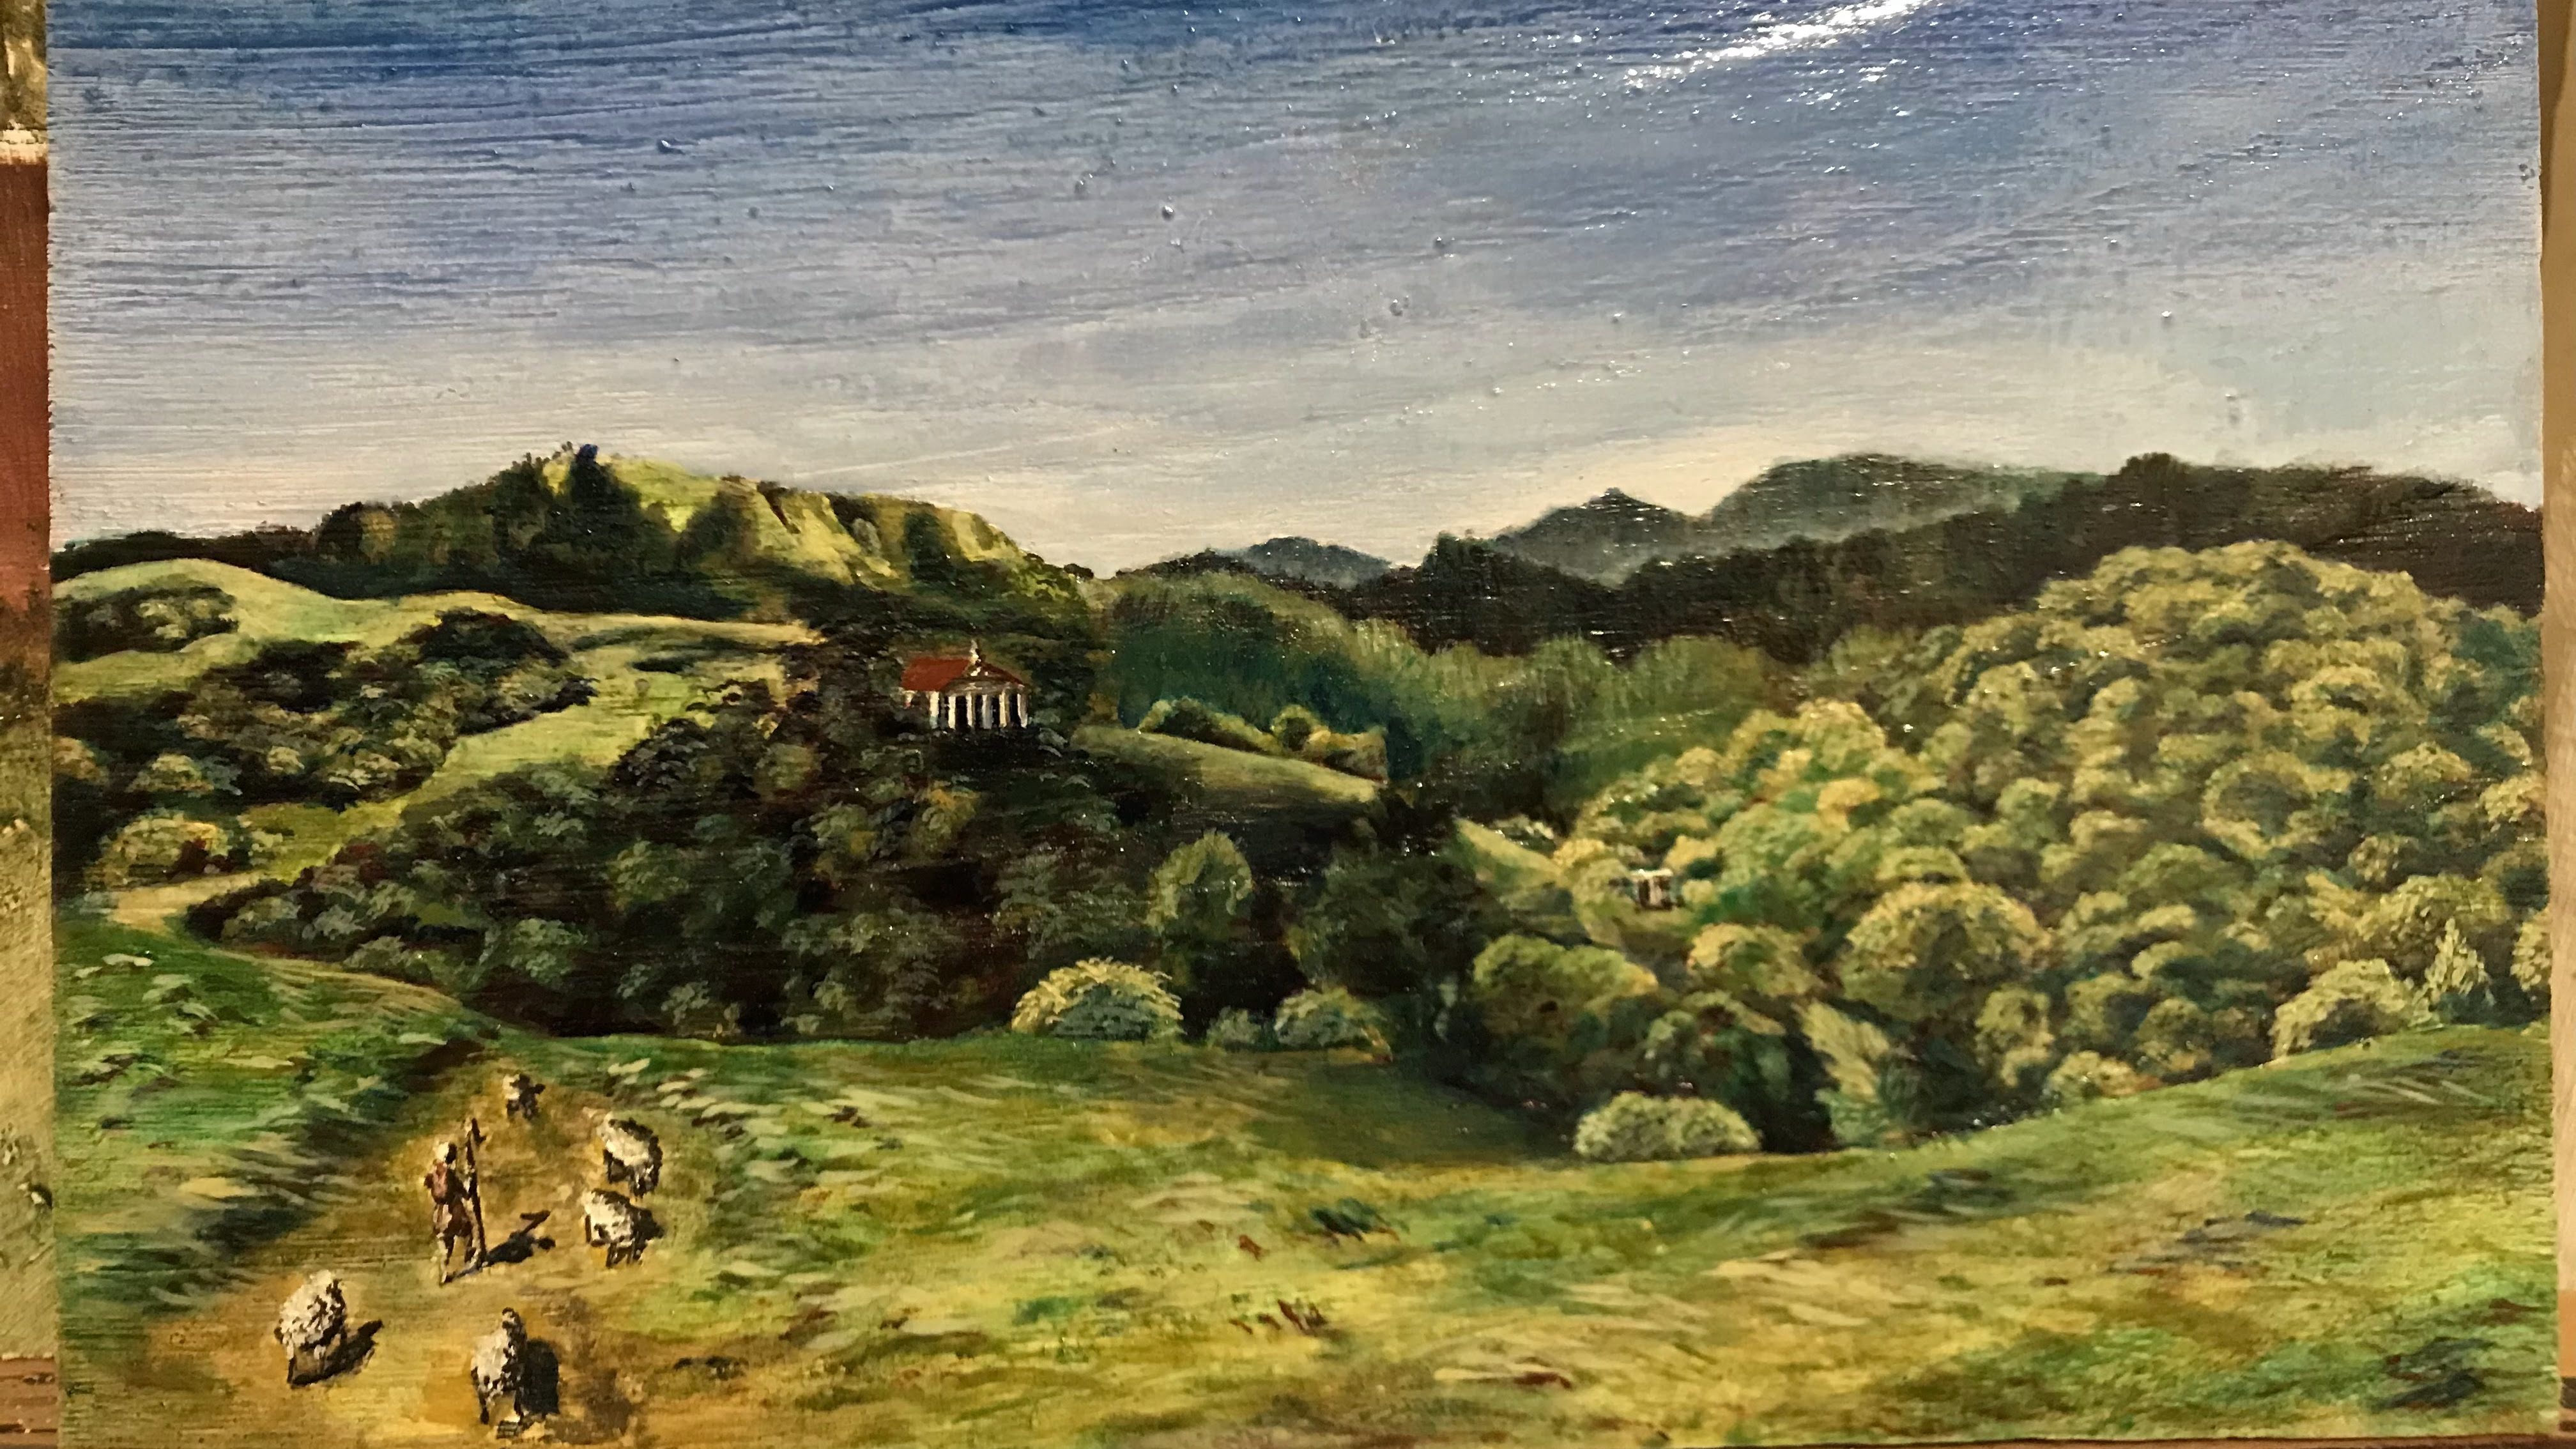
Paints that need to be opaque, like light yellows and whites, are saved for the final layer. Once all the layers have dried, I finish paintings with a dammar resin and linseed oil varnish.

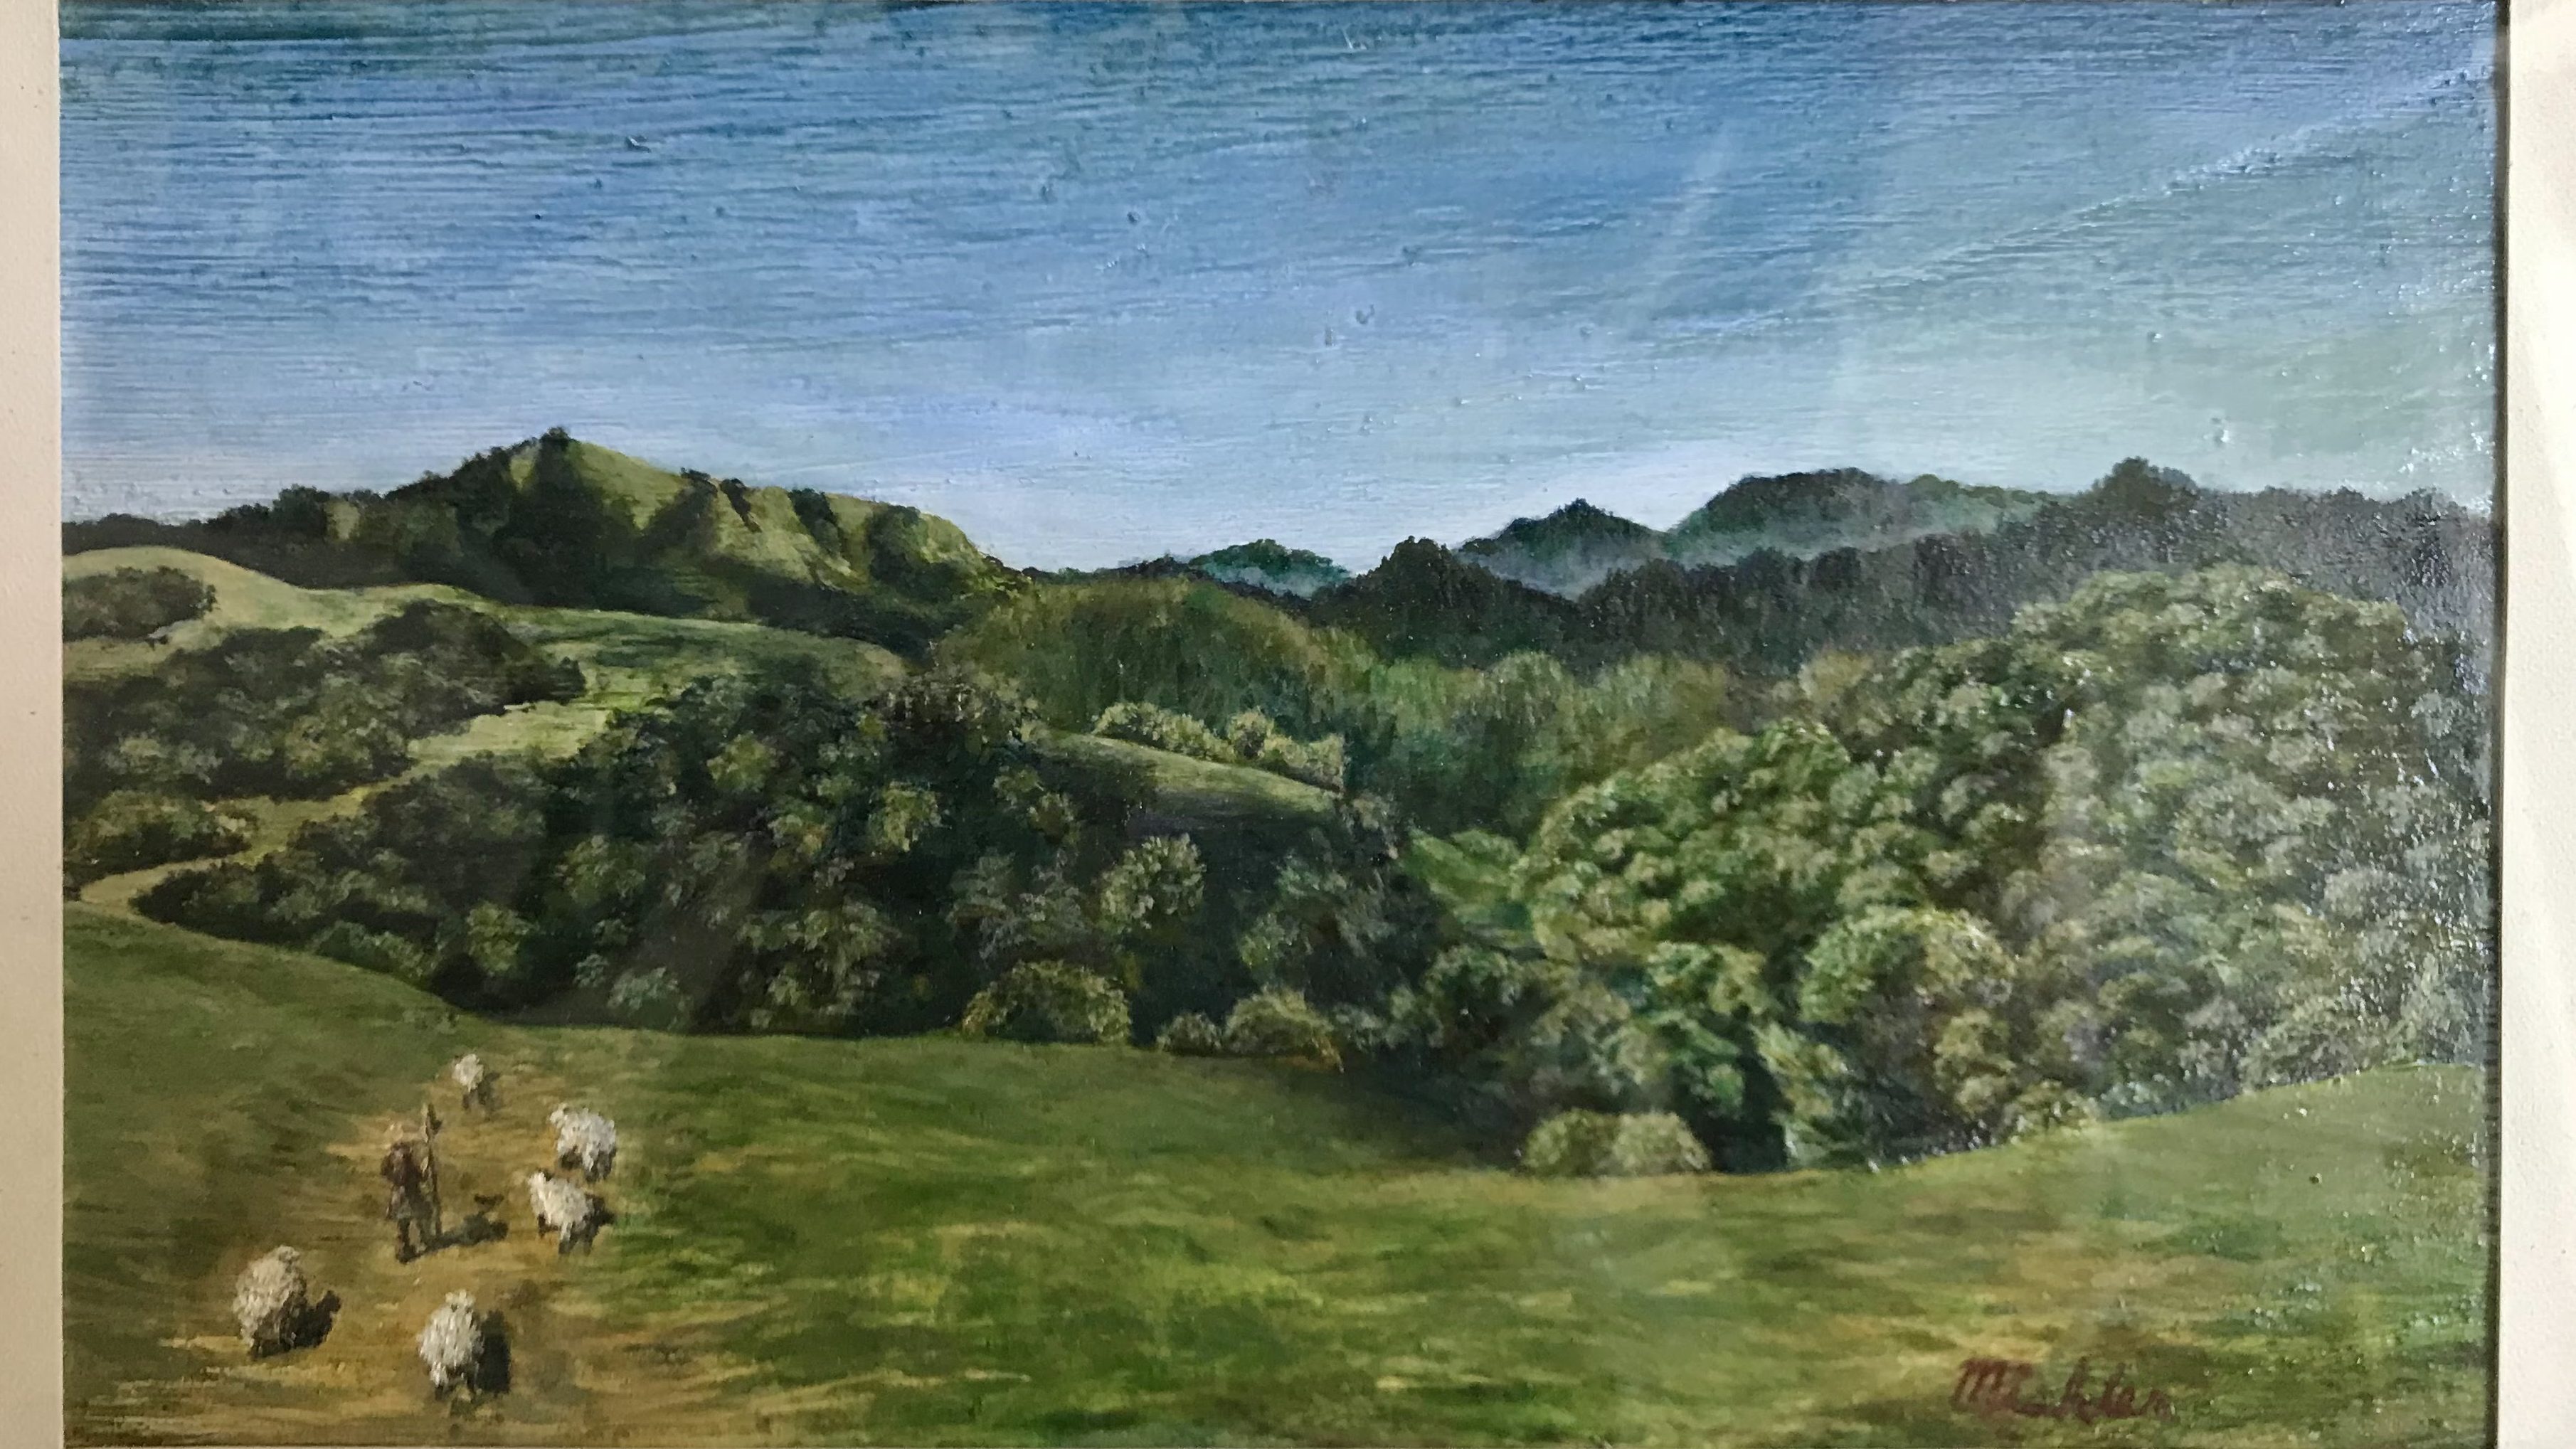
I tried my best to remain historically accurate with my paints and pigments. I use titanium white instead of lead white, but otherwise, I stay true to what materials would have been available at the time. I prepare all of my own paints by sourcing pigments and grinding them in walnut oil. My total pigment lineup includes: titanium white, raw umber, burnt umber, Indian red (hematite), yellow ochre, verdigris, green verditer, blue verditer, ultramarine, vermillion, and rose madder. I do not use all of these in every test that I do, but these pigments are available in my made up workshop.

I am constantly learning about how to grind paint more consistently. I am also recognizing how pigments’ absorption levels affect how they grind up and how certain pigments act on the brush. I am also figuring out temperance in layering and trusting the layers to create certain colors instead of mixing paints on the palette. Although my execution of this process has not been flawless, the results are improving.
