I begin my next adventure in trying to create frescoes. I have frescoes built up in my mind as the epitome of “high art”, probably because they are most closely associated with the Renaissance, which is marketed as the height of culture that we’re all still supposed to be striving for. My aim in learning fresco is not to achieve the great heights of genius, not trying to borrow some of the rarified air of Leonardo or Bellini. The scope of frescoes or wall paintings throughout history stretch far beyond the warm shores of Italy. With that said though, Italy is my starting point because there are so many resources devoted to the materials and processes of Italian fresco.
This project is only barely started, as with most other projects here there is a decent amount of waiting that must happen. Time is a material just as much as lime and sand are in this process. The real shock of this project was trying to find plain hydrated lime, because most hardware store just stock cement mix or mortar mix that is
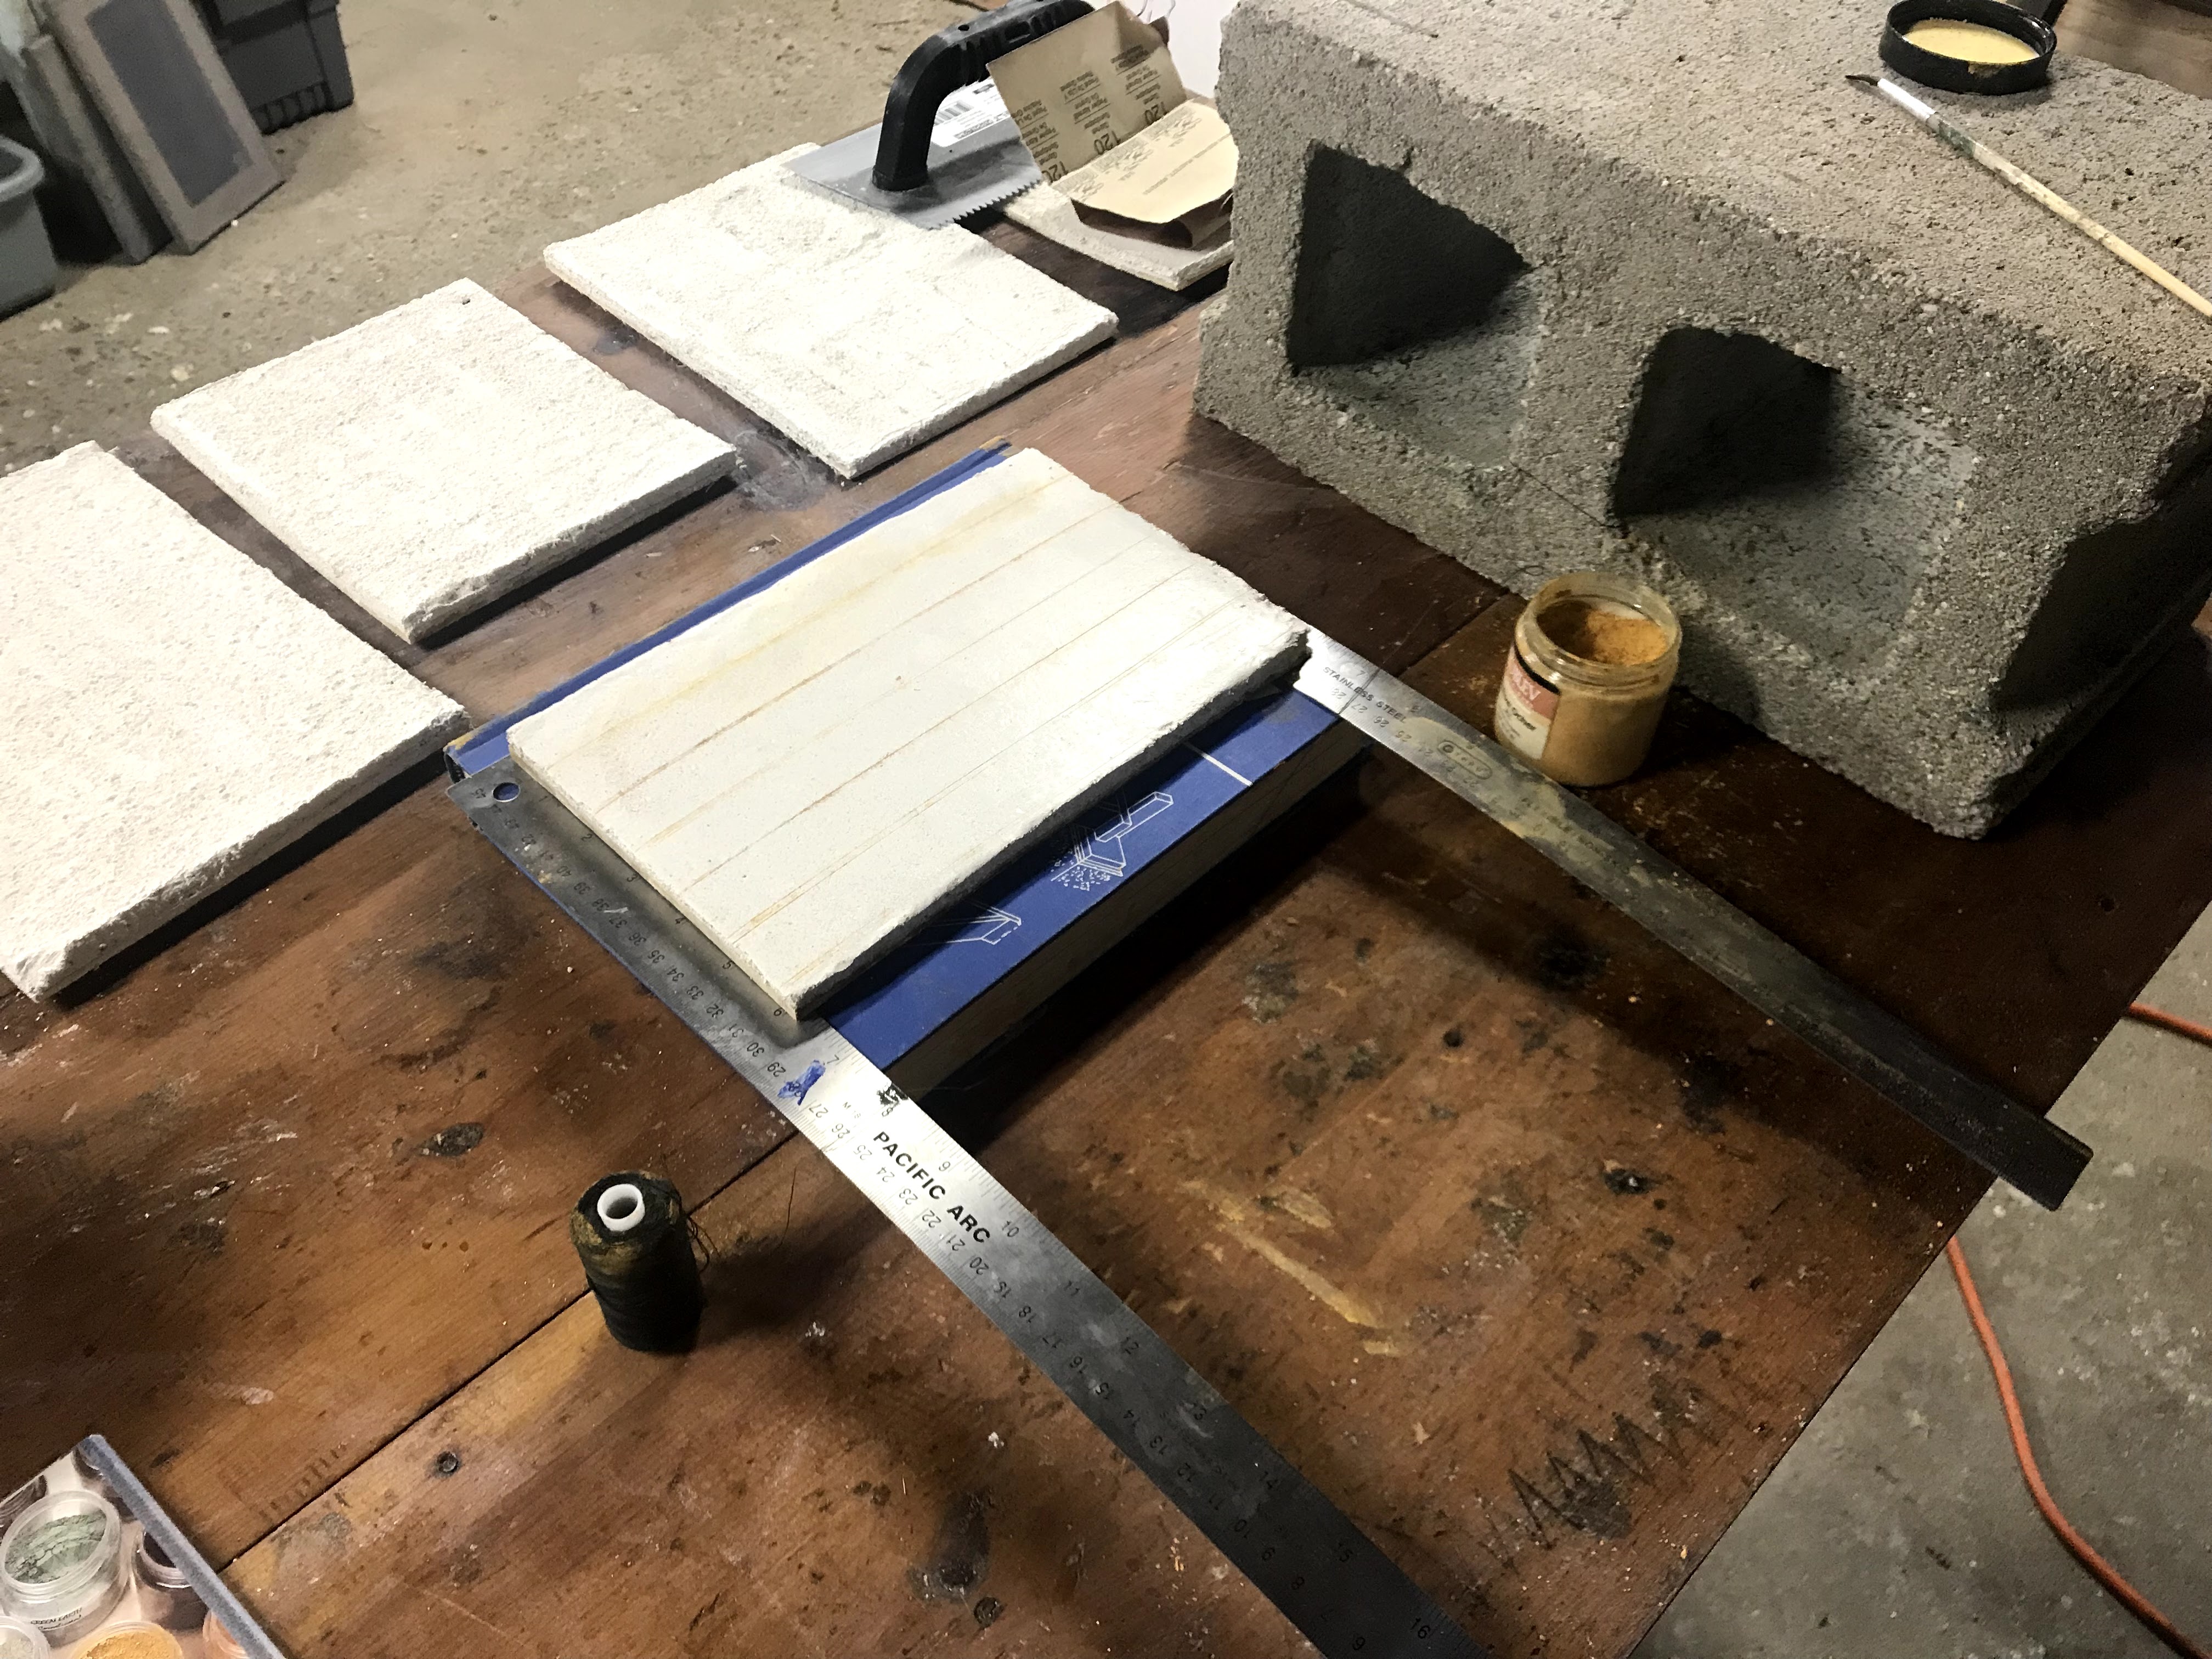
in the “just add water” variety. Granted, these mixes might be just lime and sand, but they never say what they’re made of, and I wasn’t about to risk it. The two ingredients in fresco plaster are just lime and sand. The hydrated part of the lime I needed meant that the lime was already slaked and ready for use. If I had gotten straight lime, it would need to be soaked for months before it could be used. Slaked lime, hydrated lime, Type S Lime, and quicklime all refer to the same thing, as far as I can tell. I also needed fine, washed sand, which was also harder to find than I thought, especially when I was looking in summer, when conceivably the most amount of DIY projects would be done needing sand. But I digress. The sand I found was washed but not fine, and I got around this by making a sieve screen out of window mesh. I channeled my archaeology days as I shook out the
finer particles into a bucket to combine with the lime. In some recipes, it is suggested to add whiting or marble dust into the final coat of plaster that the pigment gets laid into.
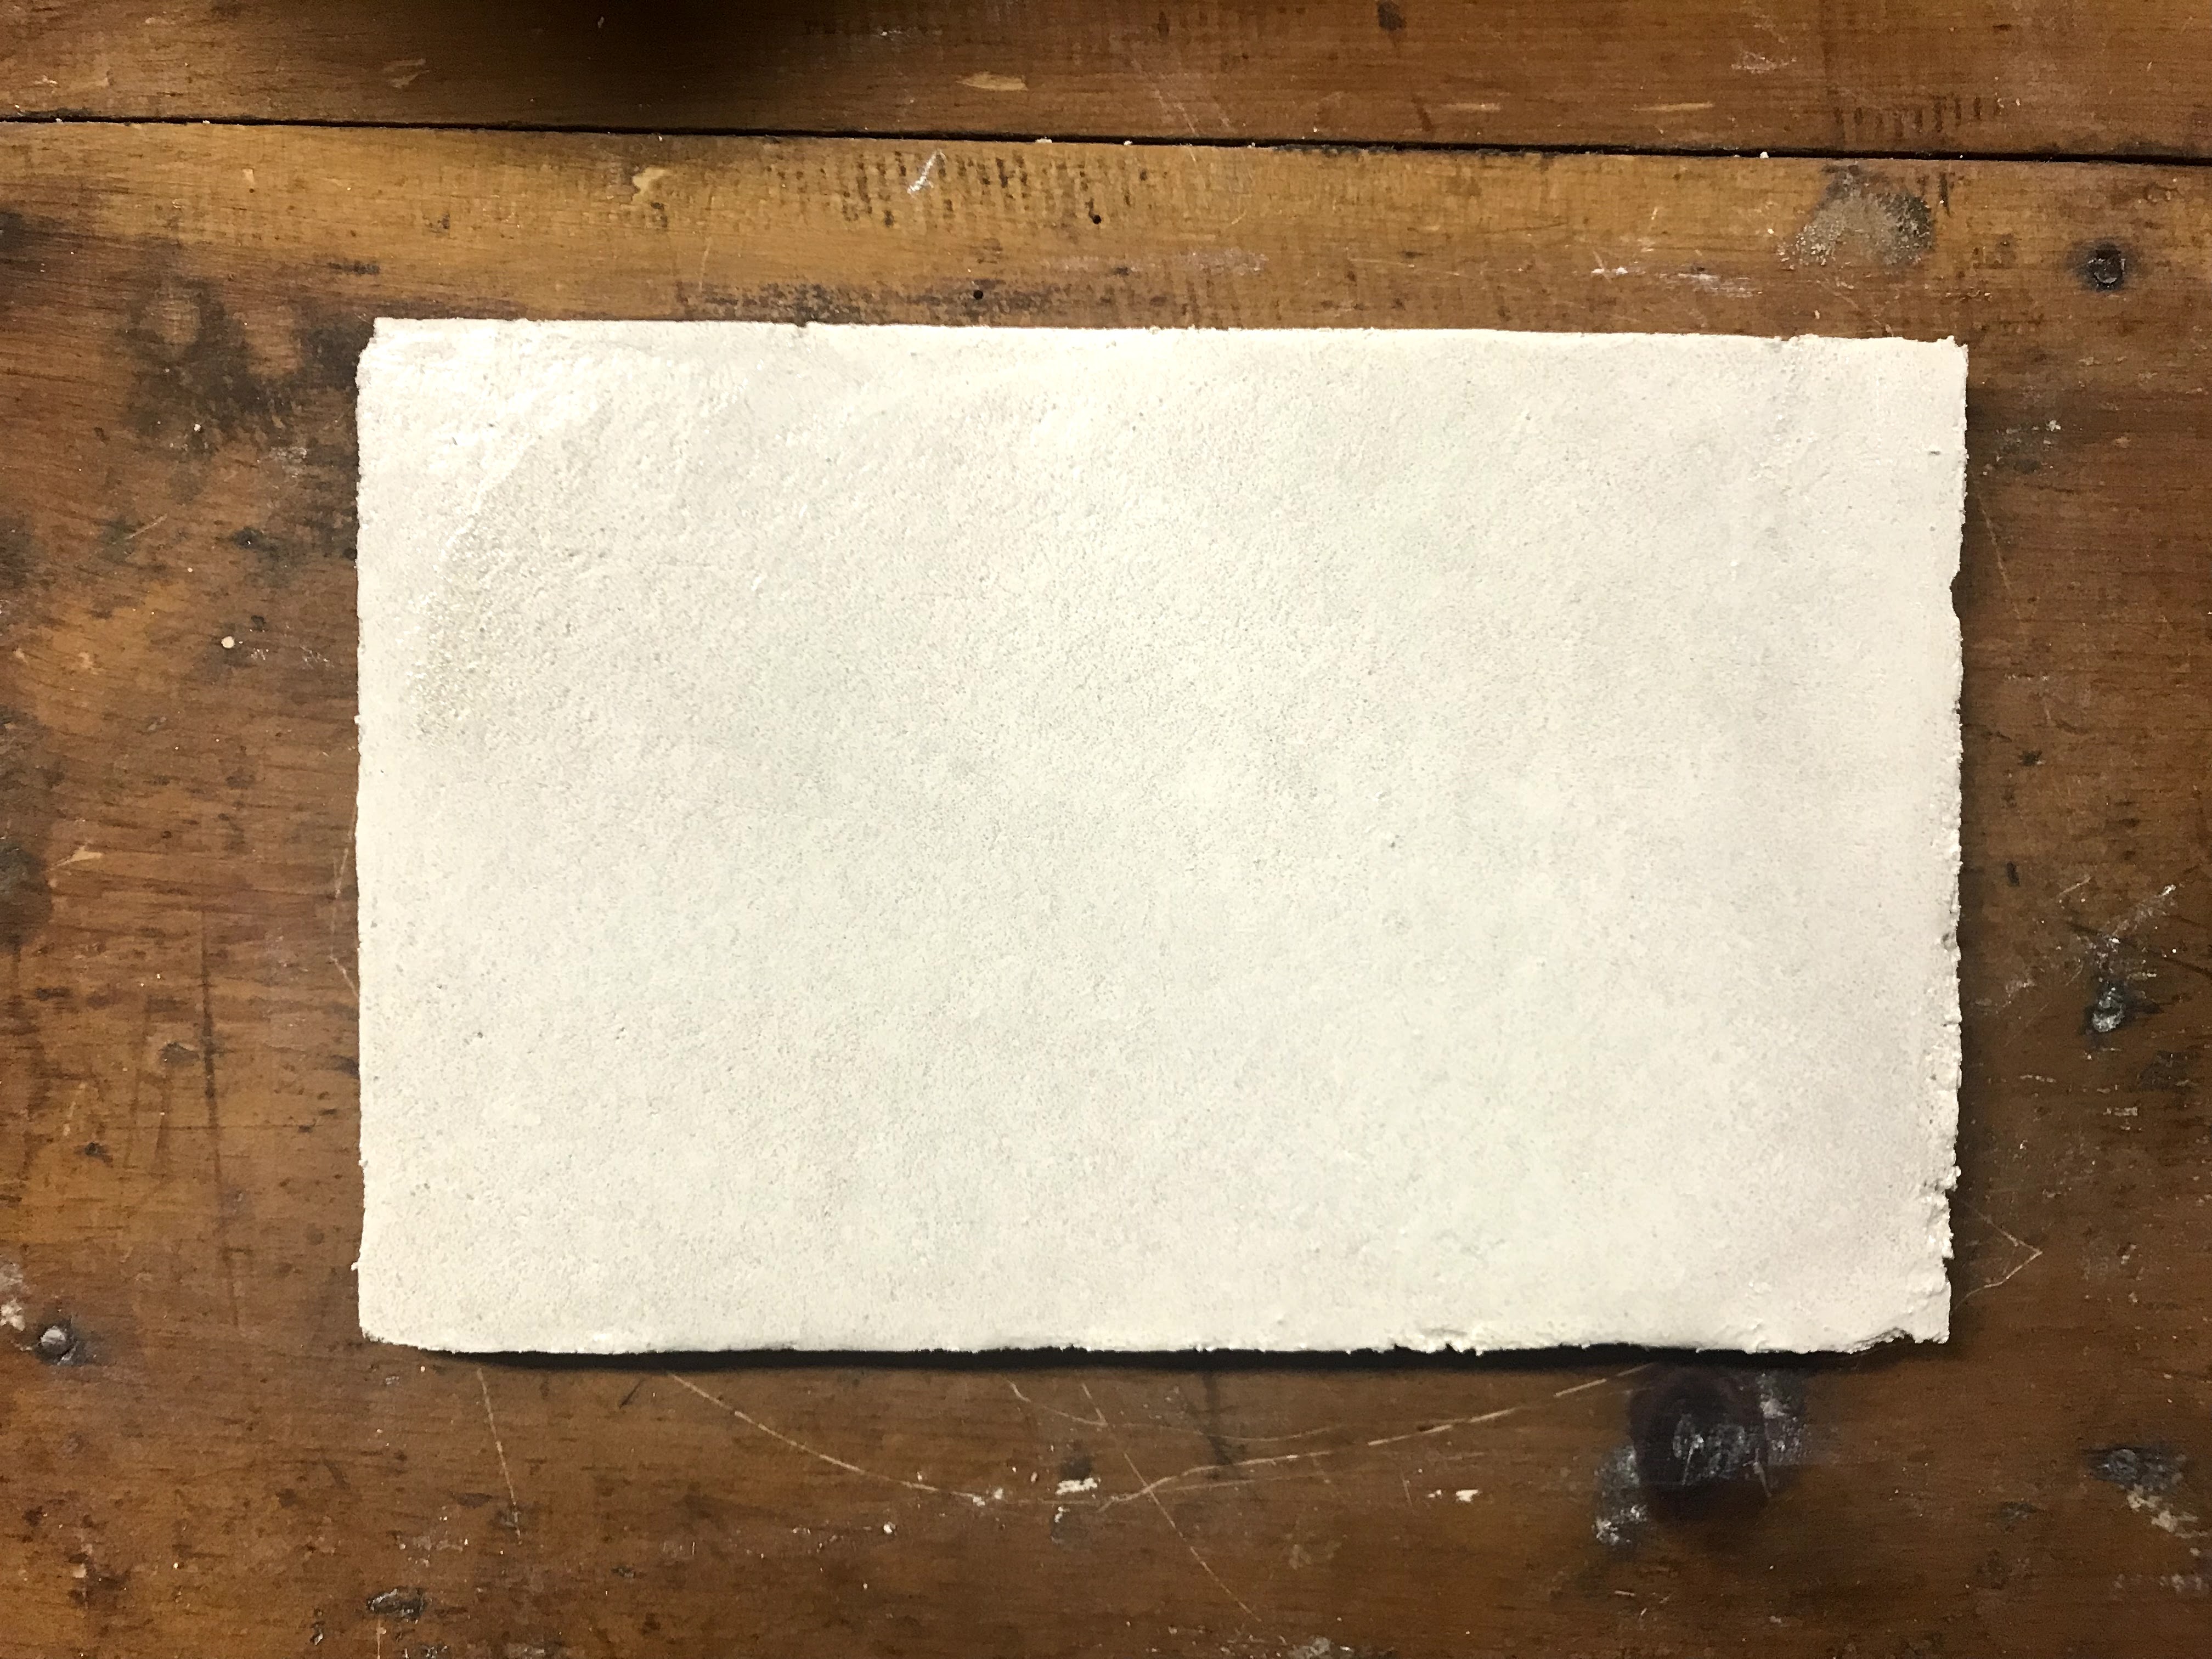
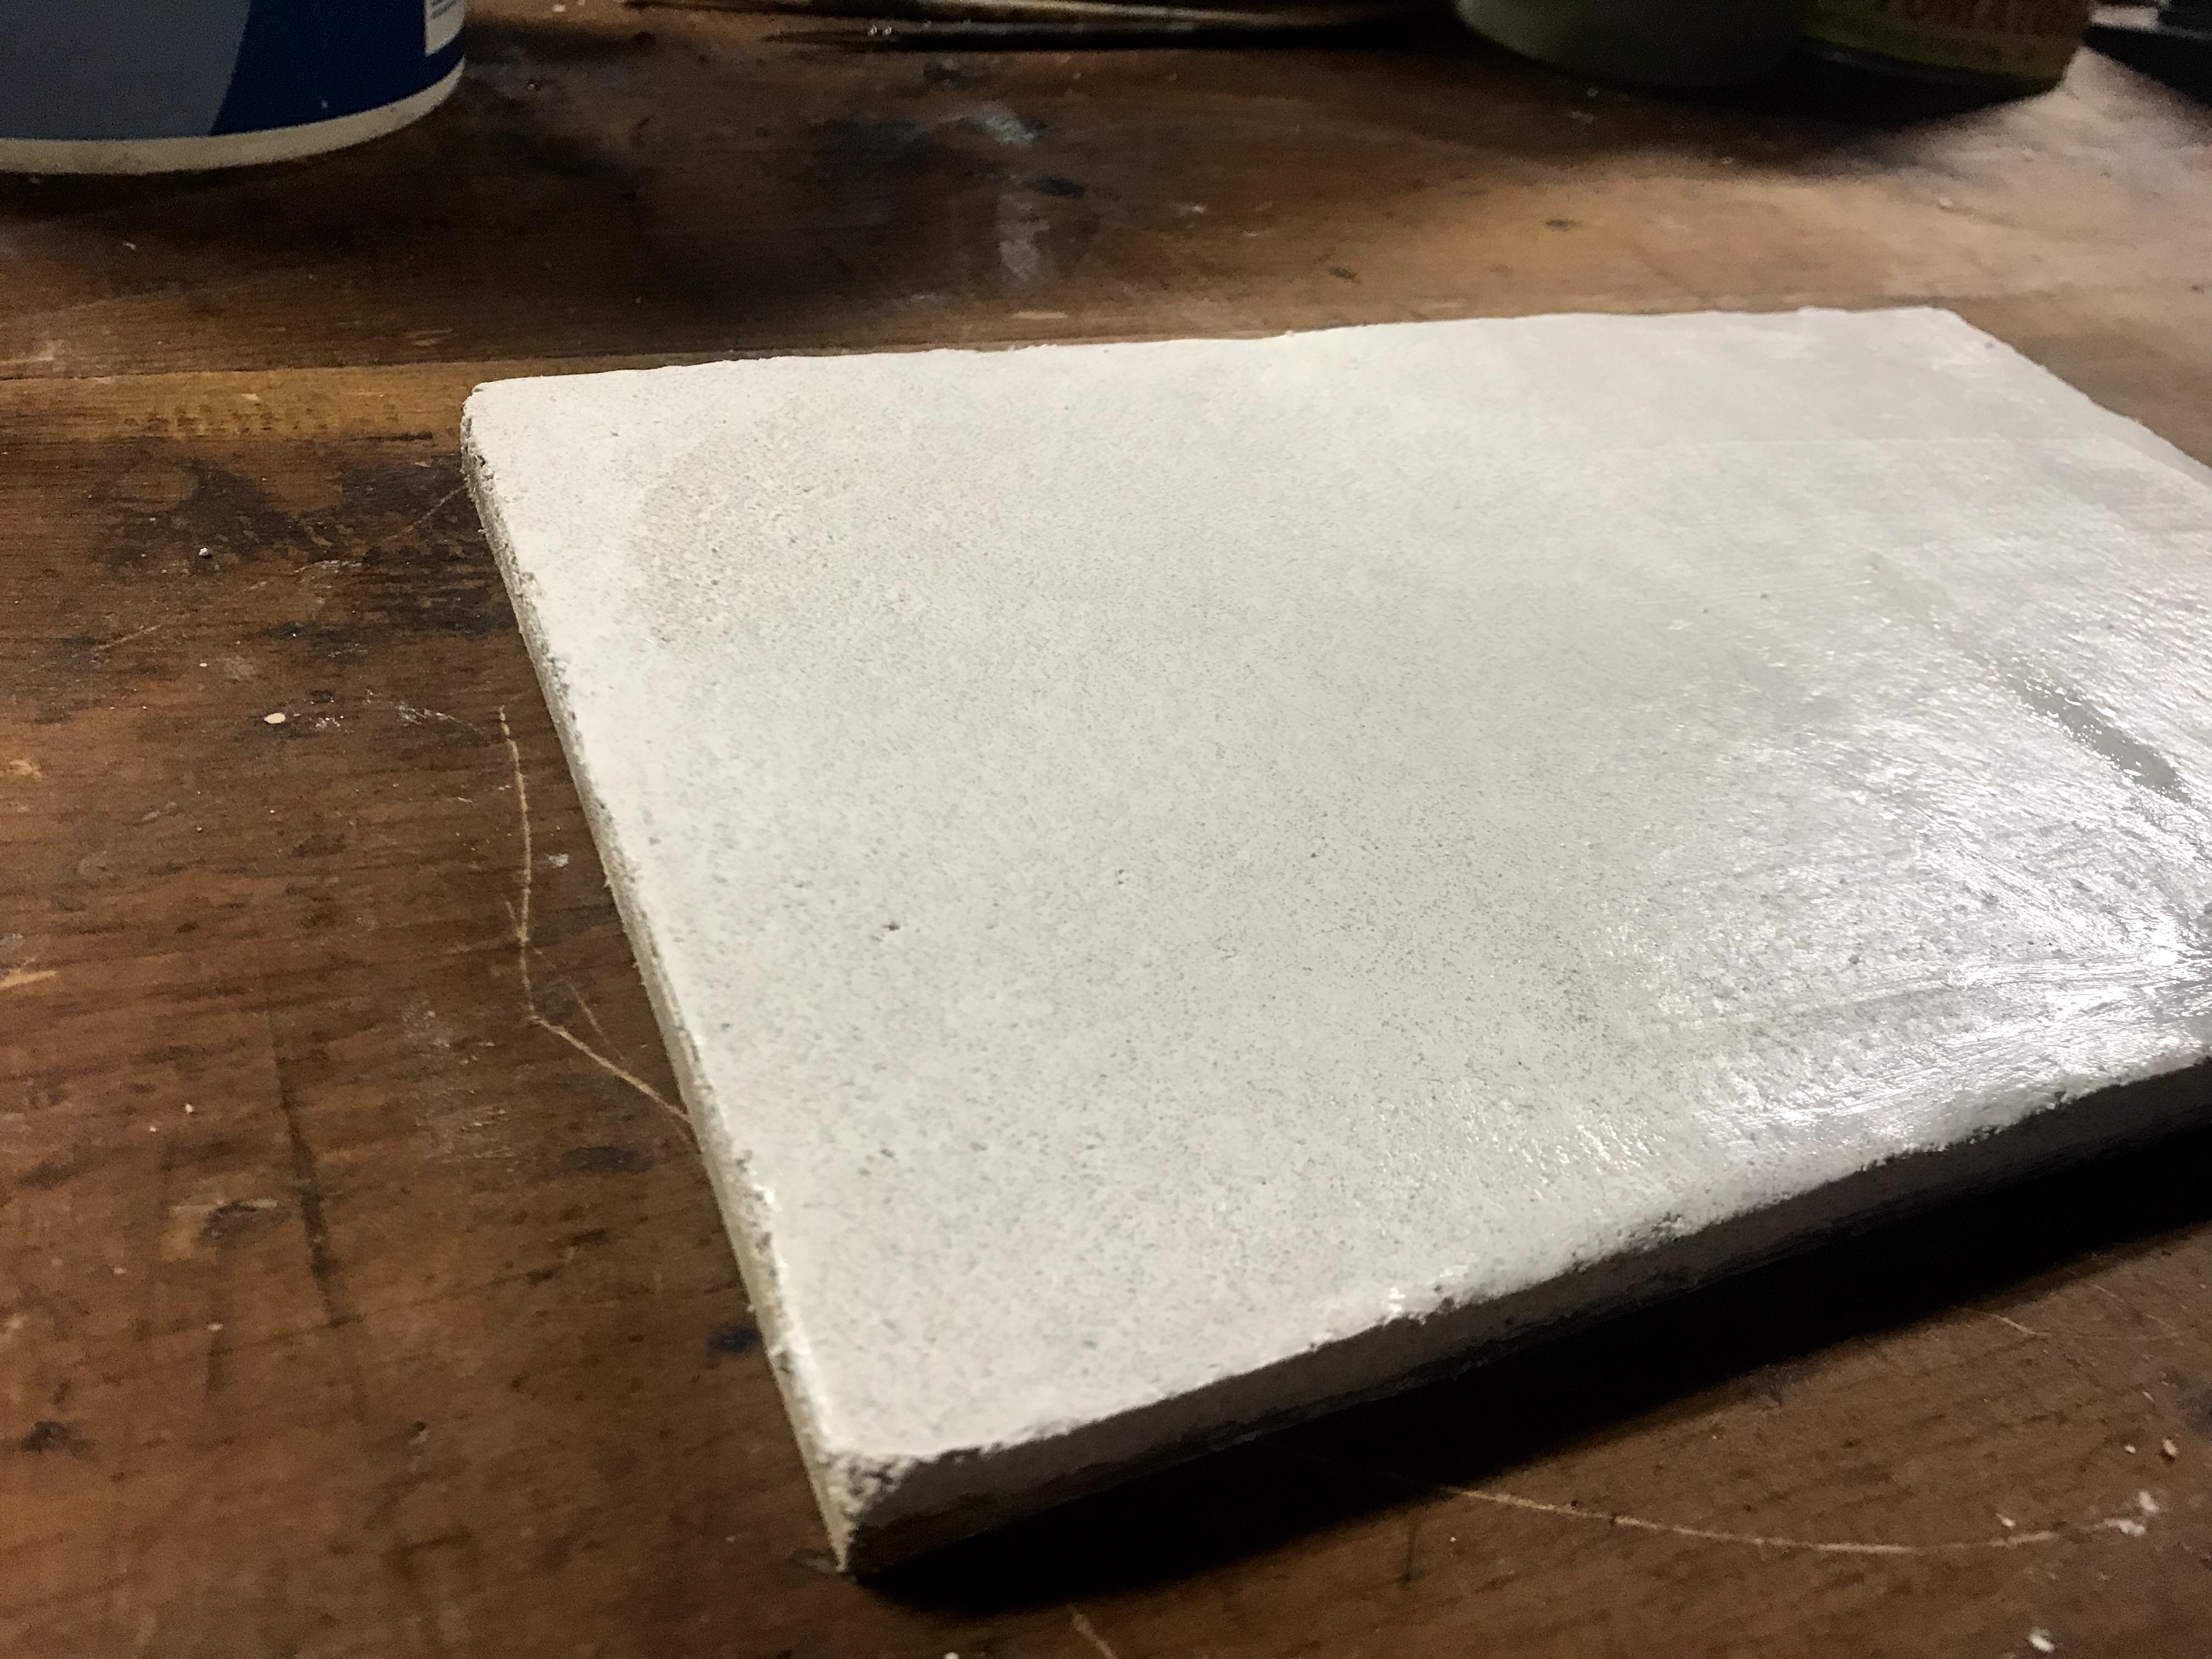
Traditionally for frescoes on walls, or plastered walls in general, three coats of plaster are standard. The first two have higher sand to lime ratio and help build up the base for the top layer to bind to. The final top layer has a higher lime to sand ratio (sometimes also with whiting) and is typically very thin. For my initial experiments, I am only doing two coats, a rough coat and final coat, on cedar panels.

I stapled mesh onto the panels to give the rough coat plaster something to grab onto and make a stronger bond. Once the rough coat sets, the plaster gets generously watered in preparation for the top coat. The plaster needs to set over time, but wetting it down before the next coat helps the two coats bond, in addition to helping not dry out the top coat before it’s done being painted.
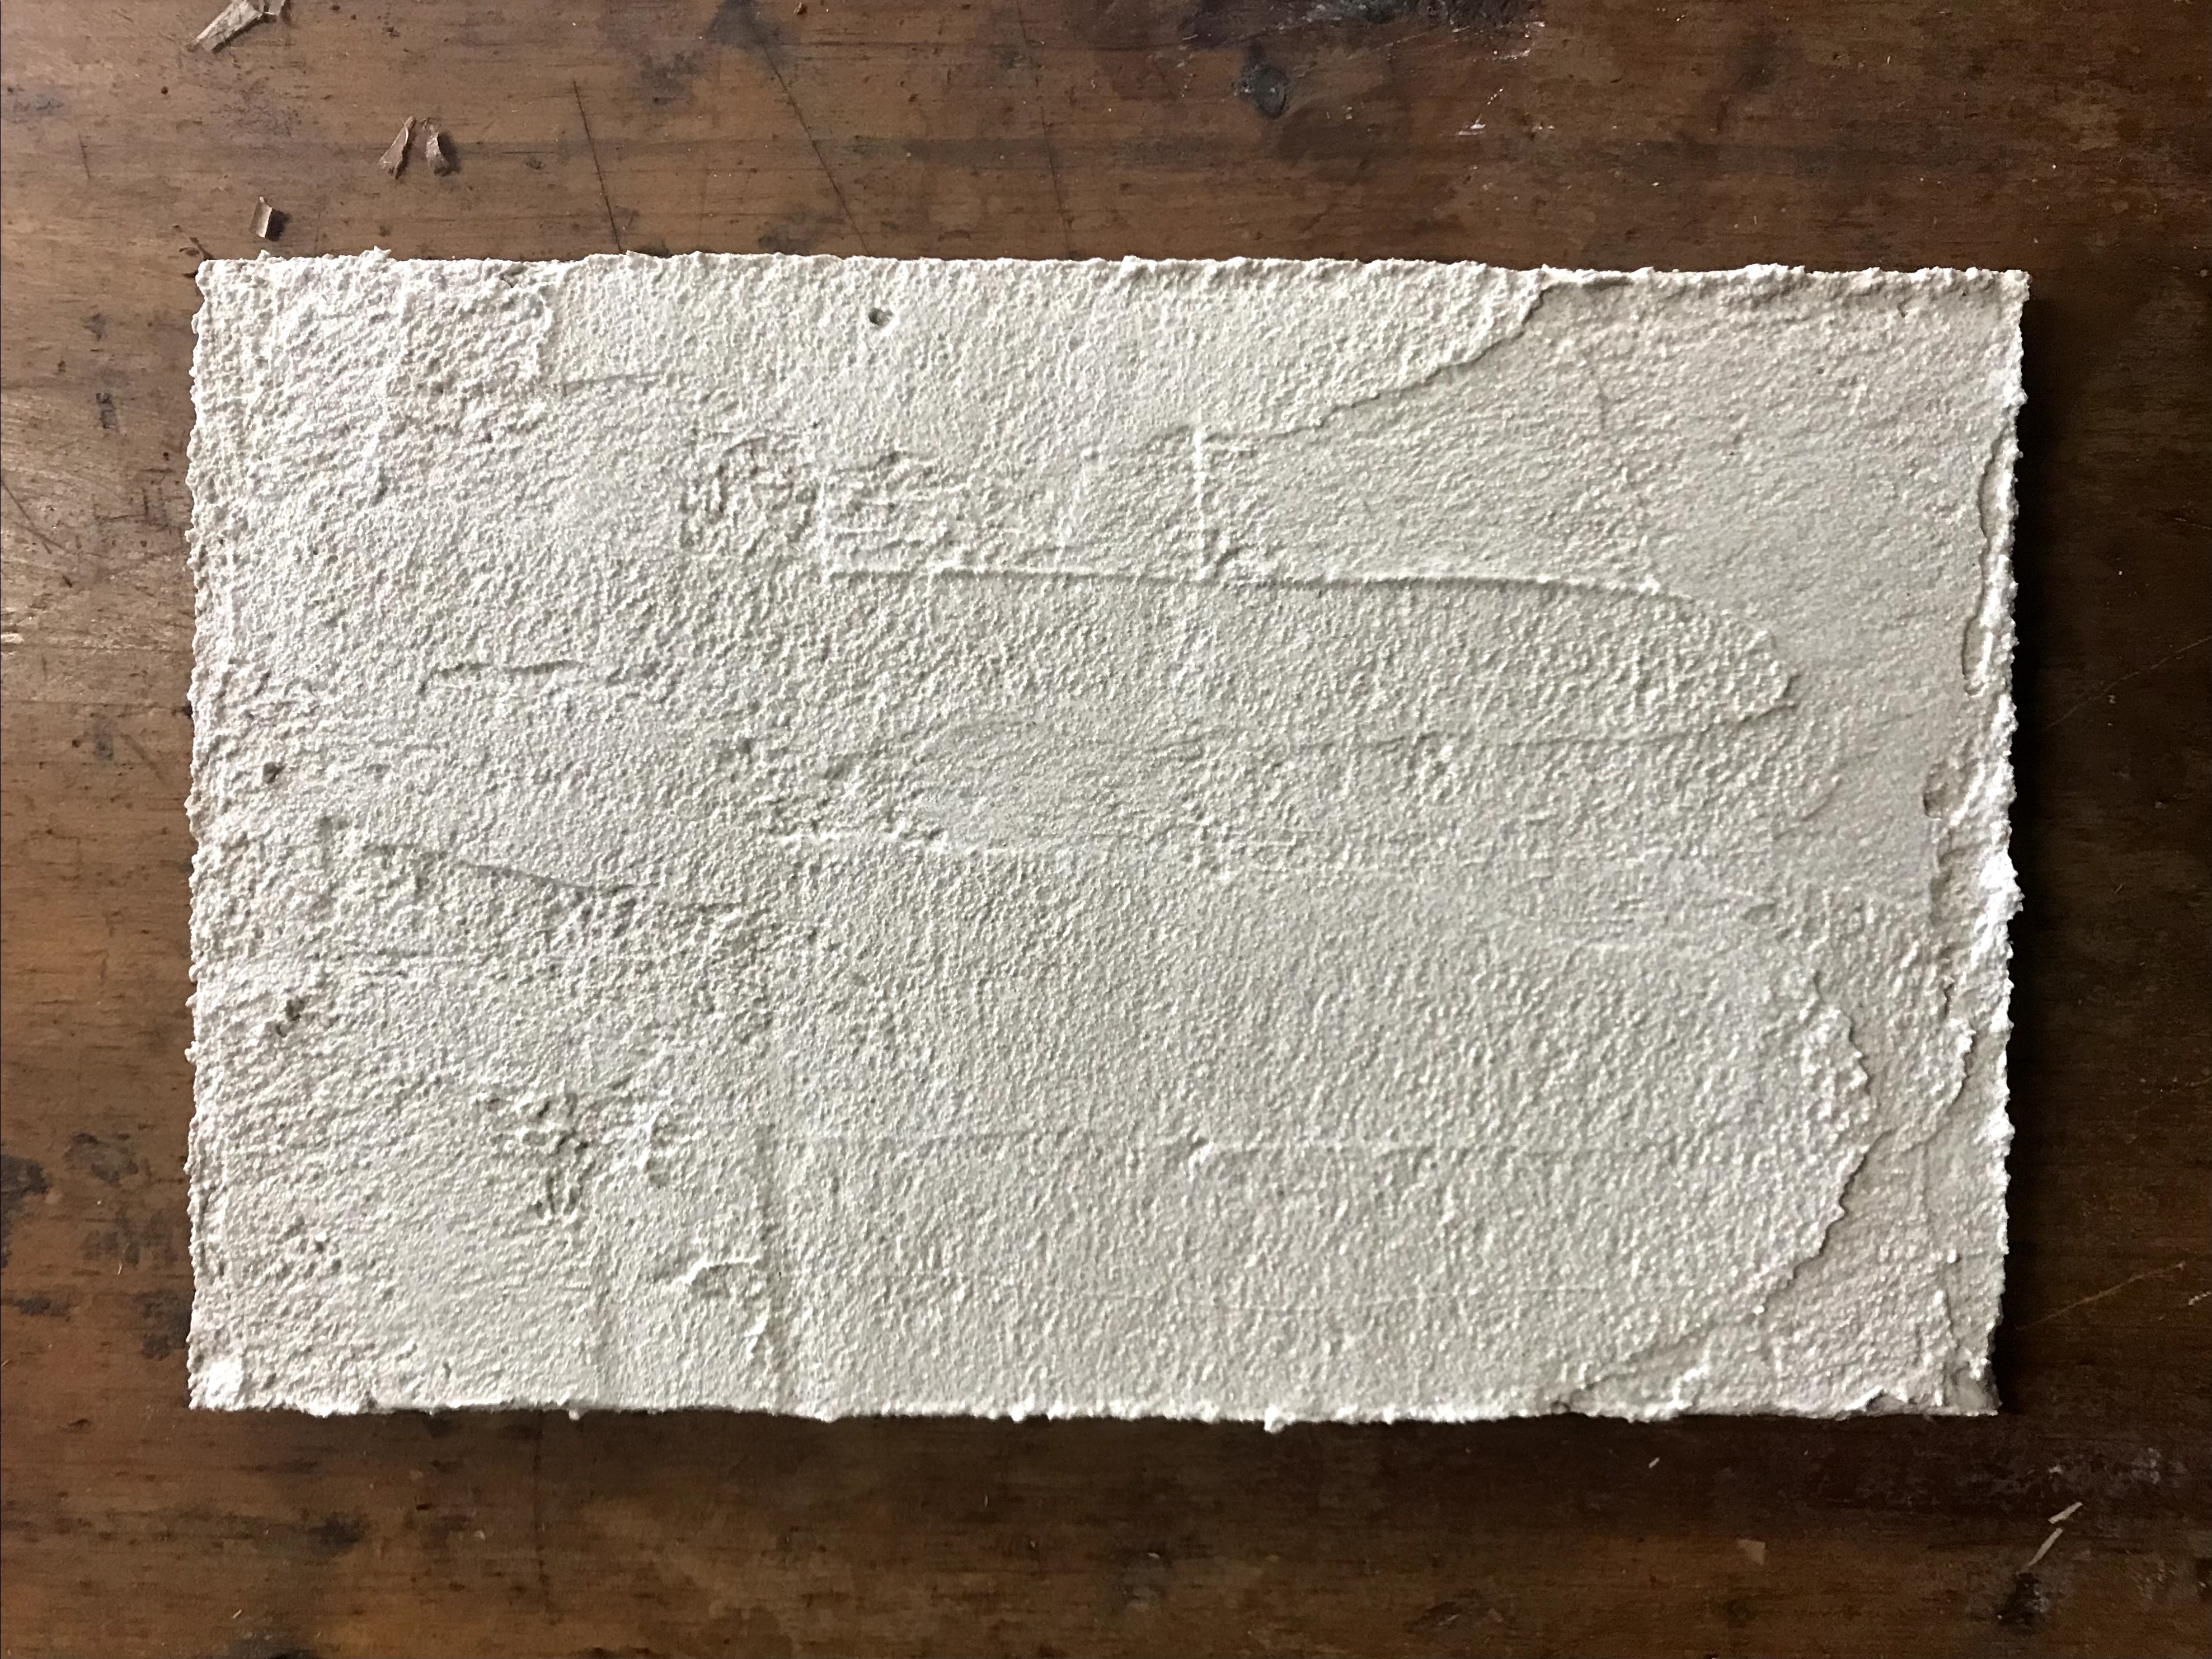
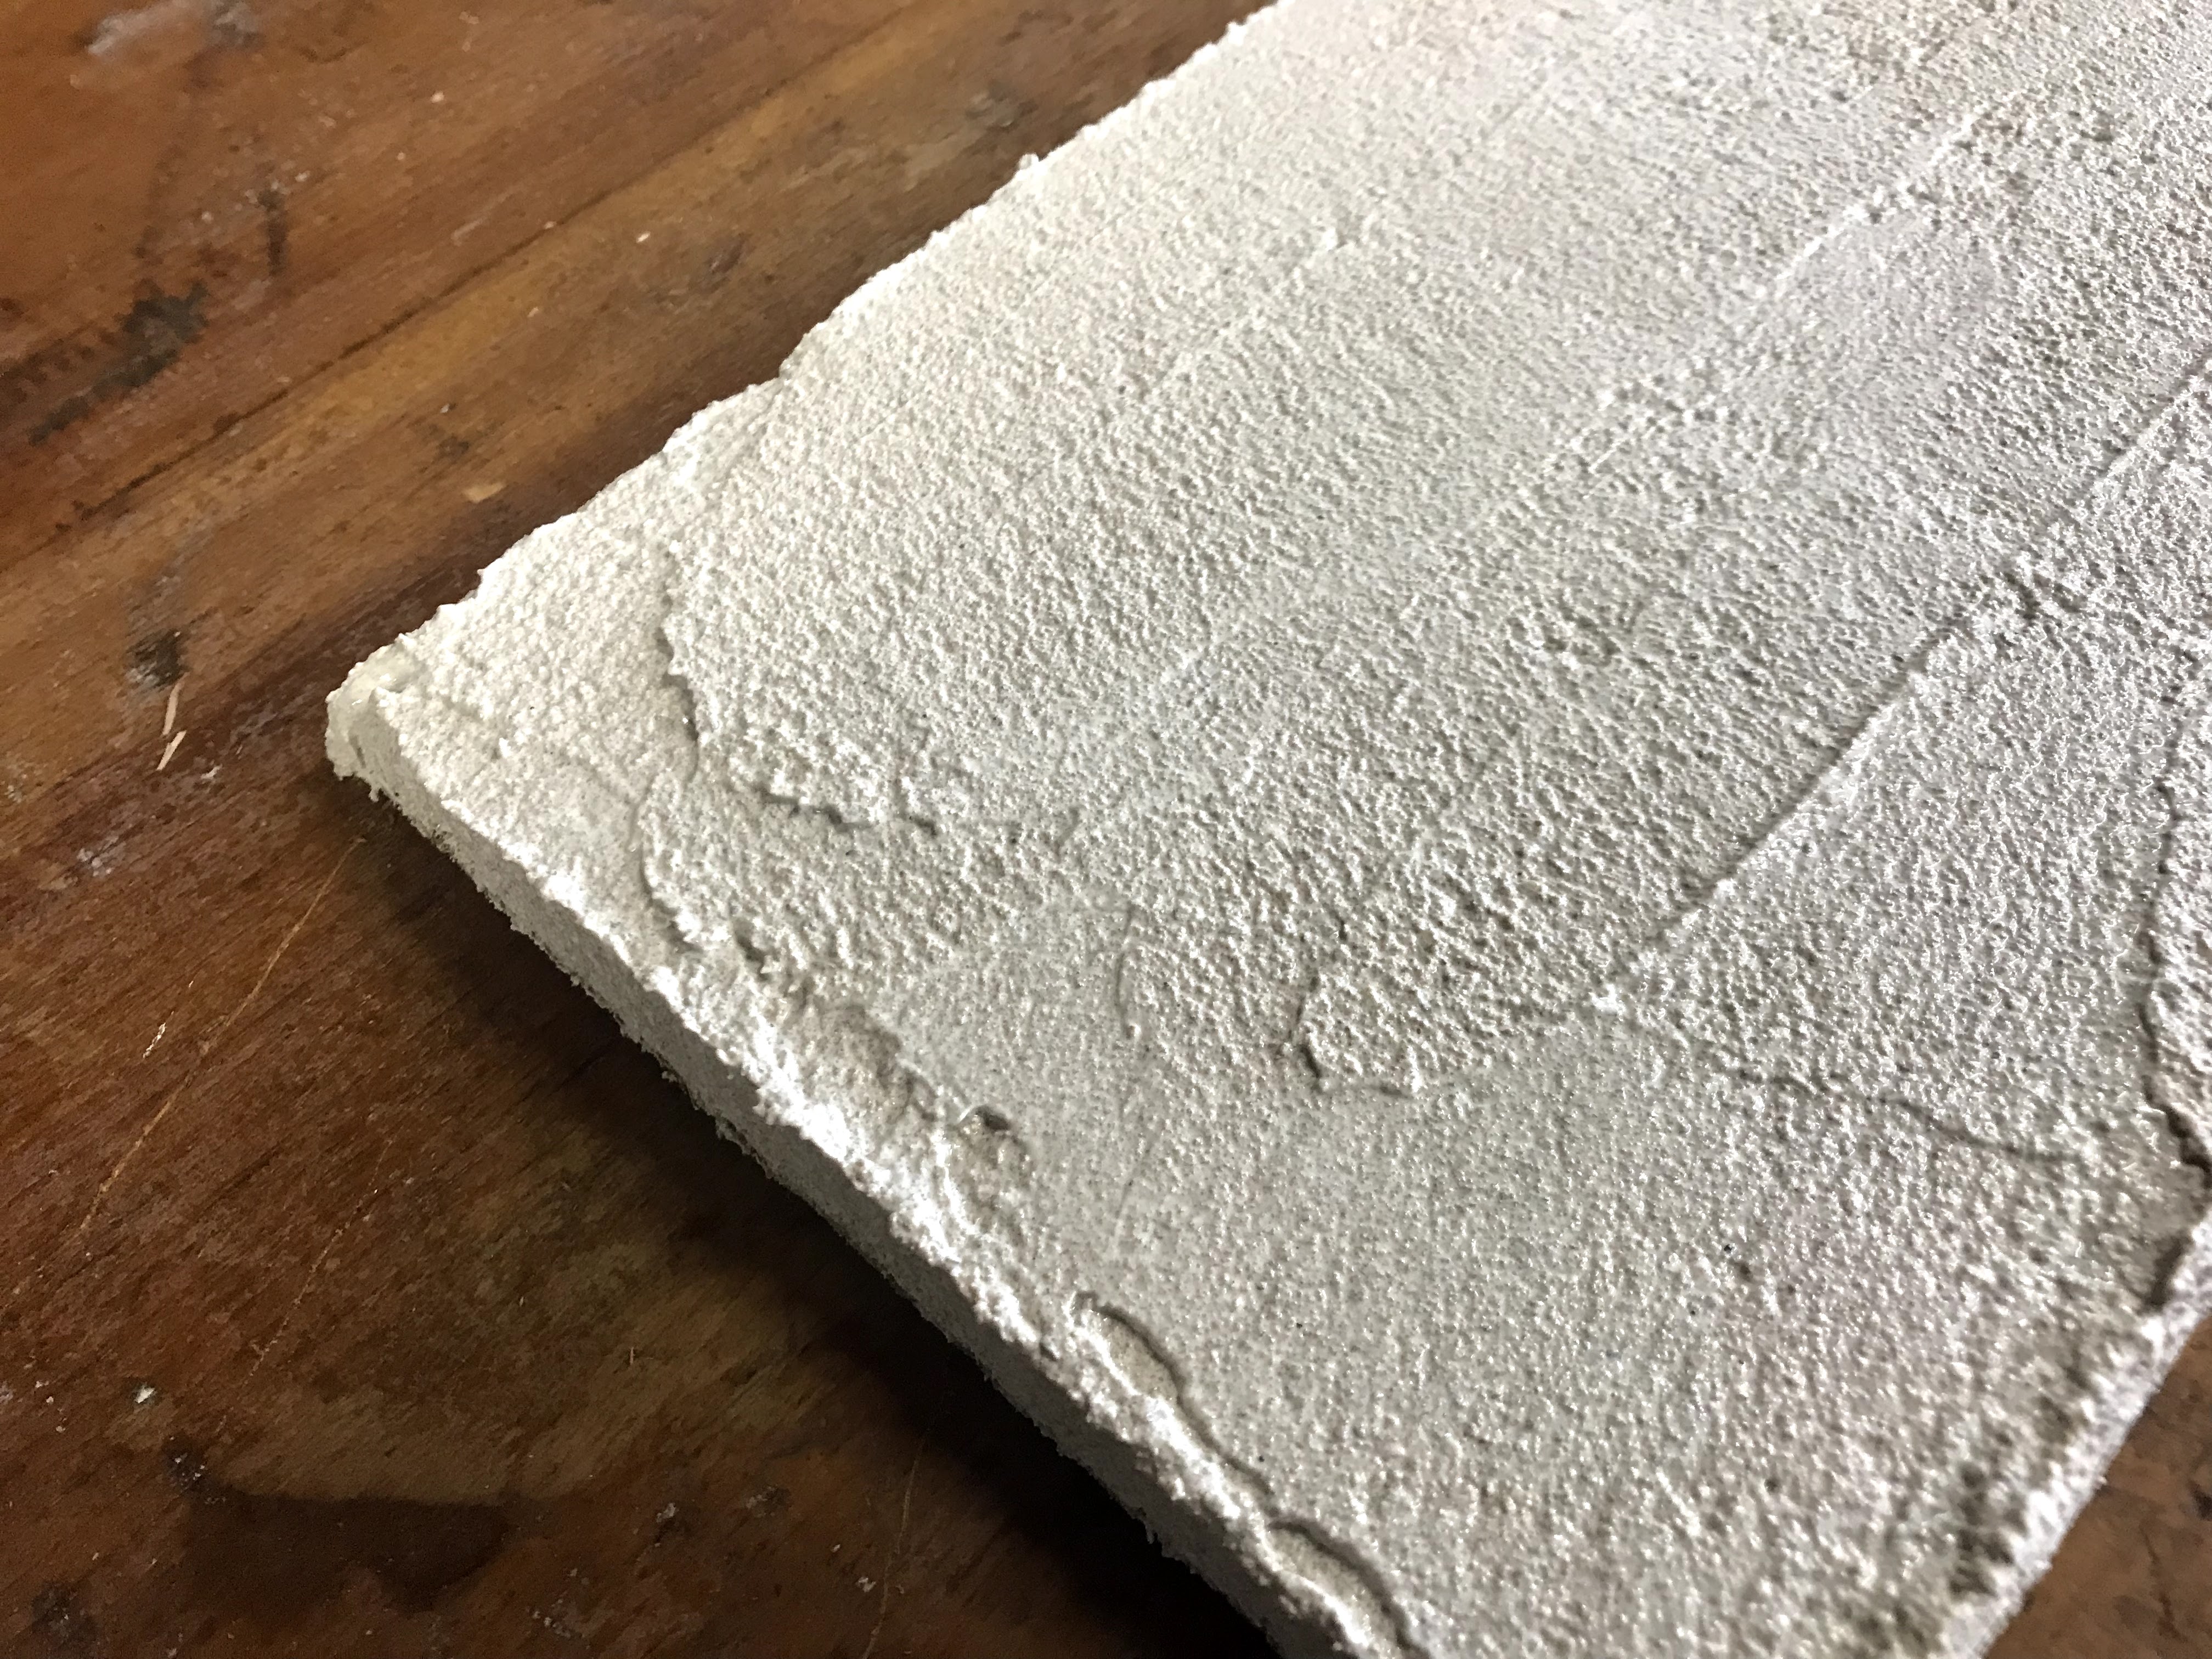
For my first set of frescoes, I was not patient or knowledgeable enough to have perfect results, but hey, I’m here to learn. I let the first coat set up for too long, and the second coat not set up enough. In addition, both coats dried too quickly on a couple other panels I prepared, which led to some serious cracking in the plaster.
To paint them, watercolors or distempers could be used, so I tried the distempers at first. A distemper paint consists of just pigment in water and made up into a paste for this use.

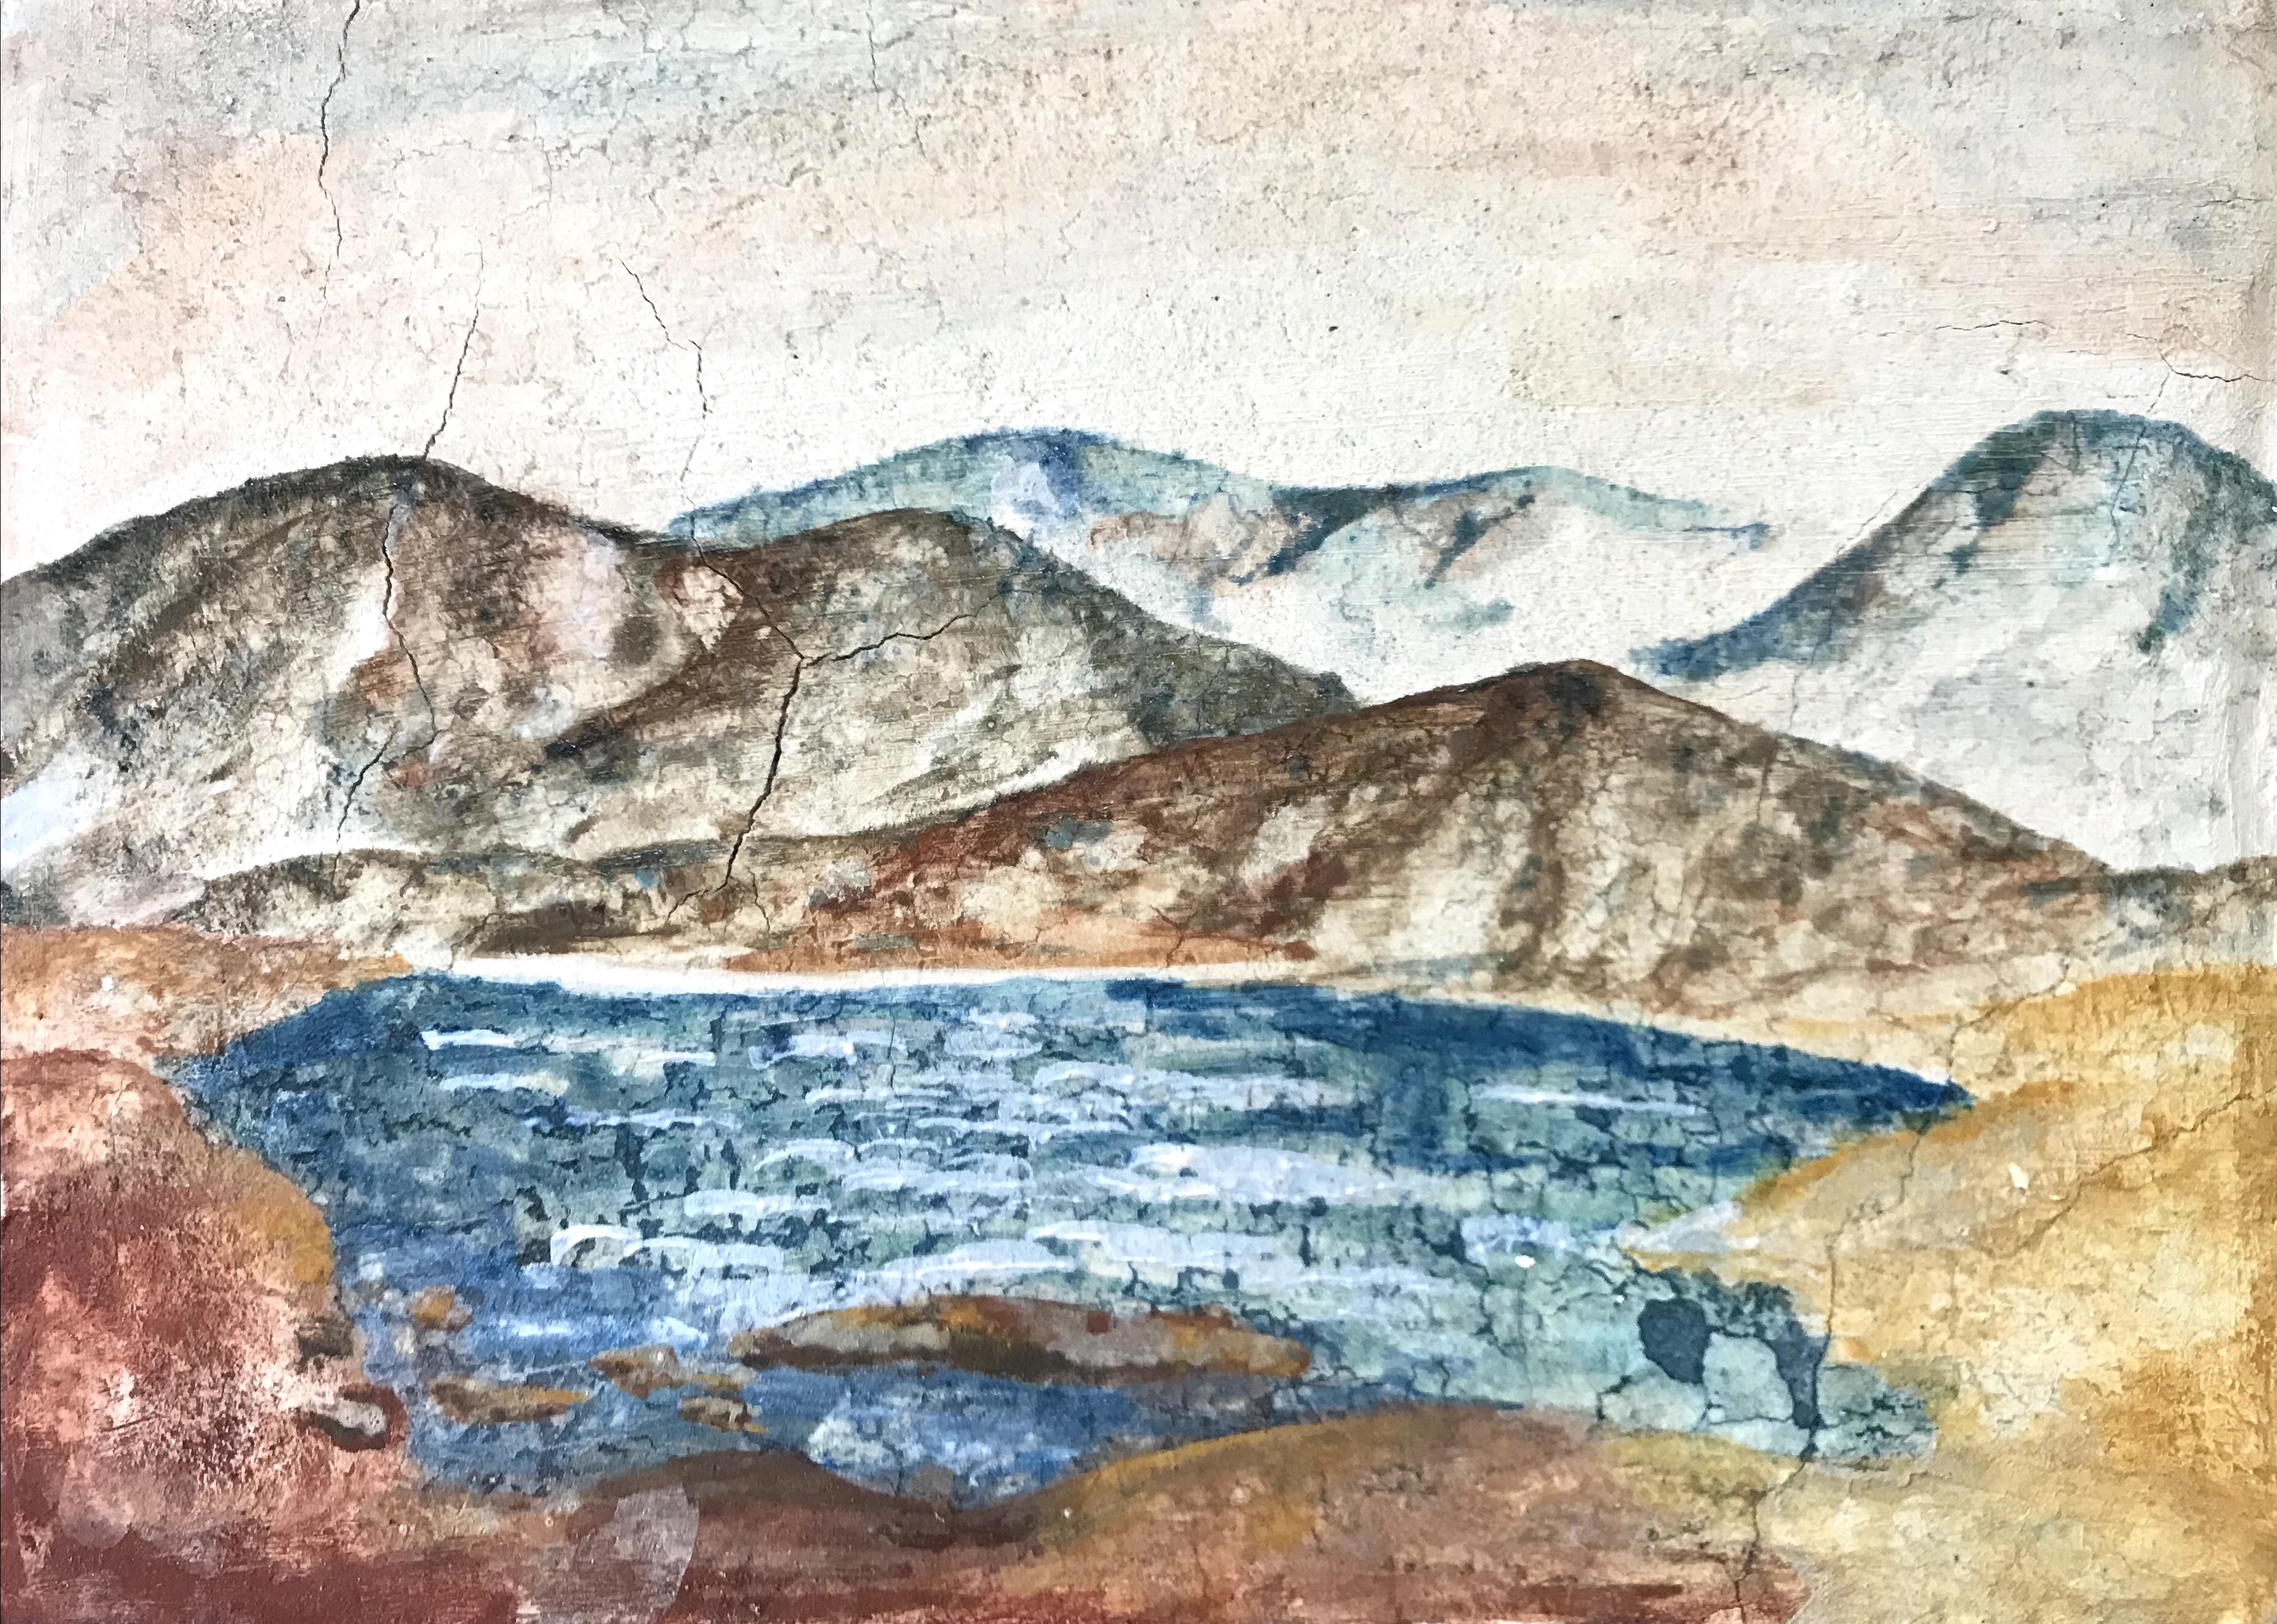
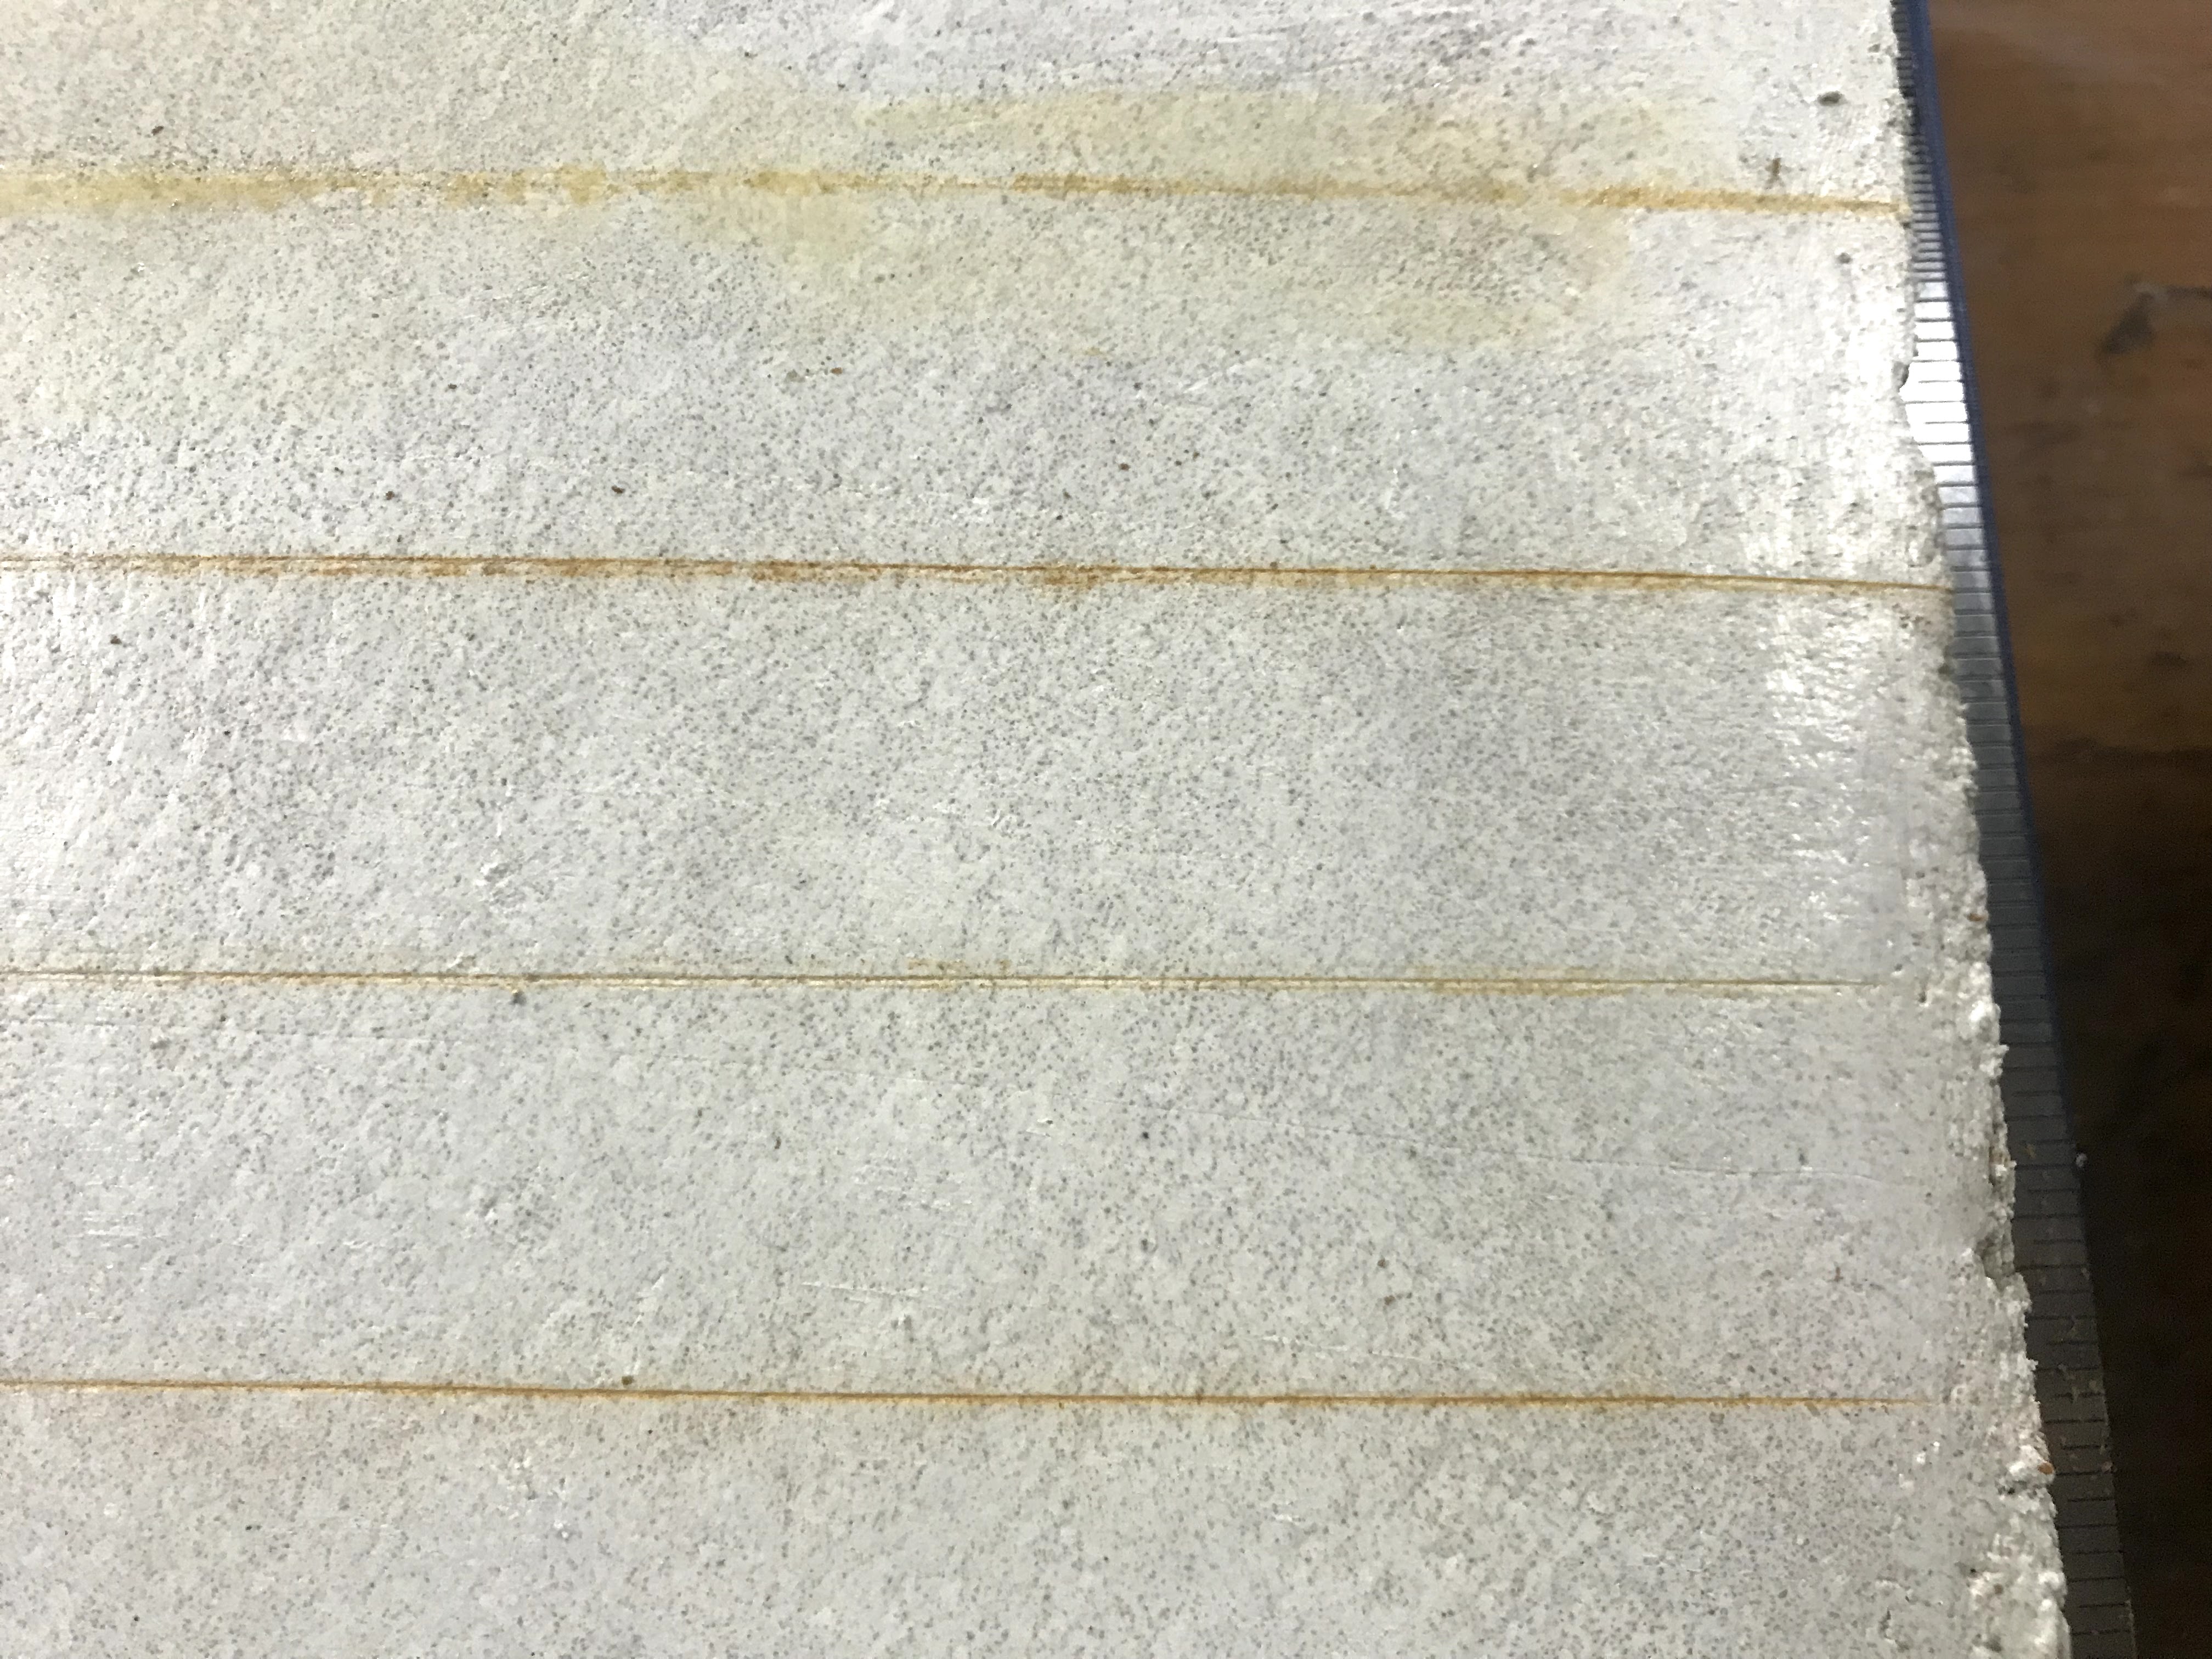
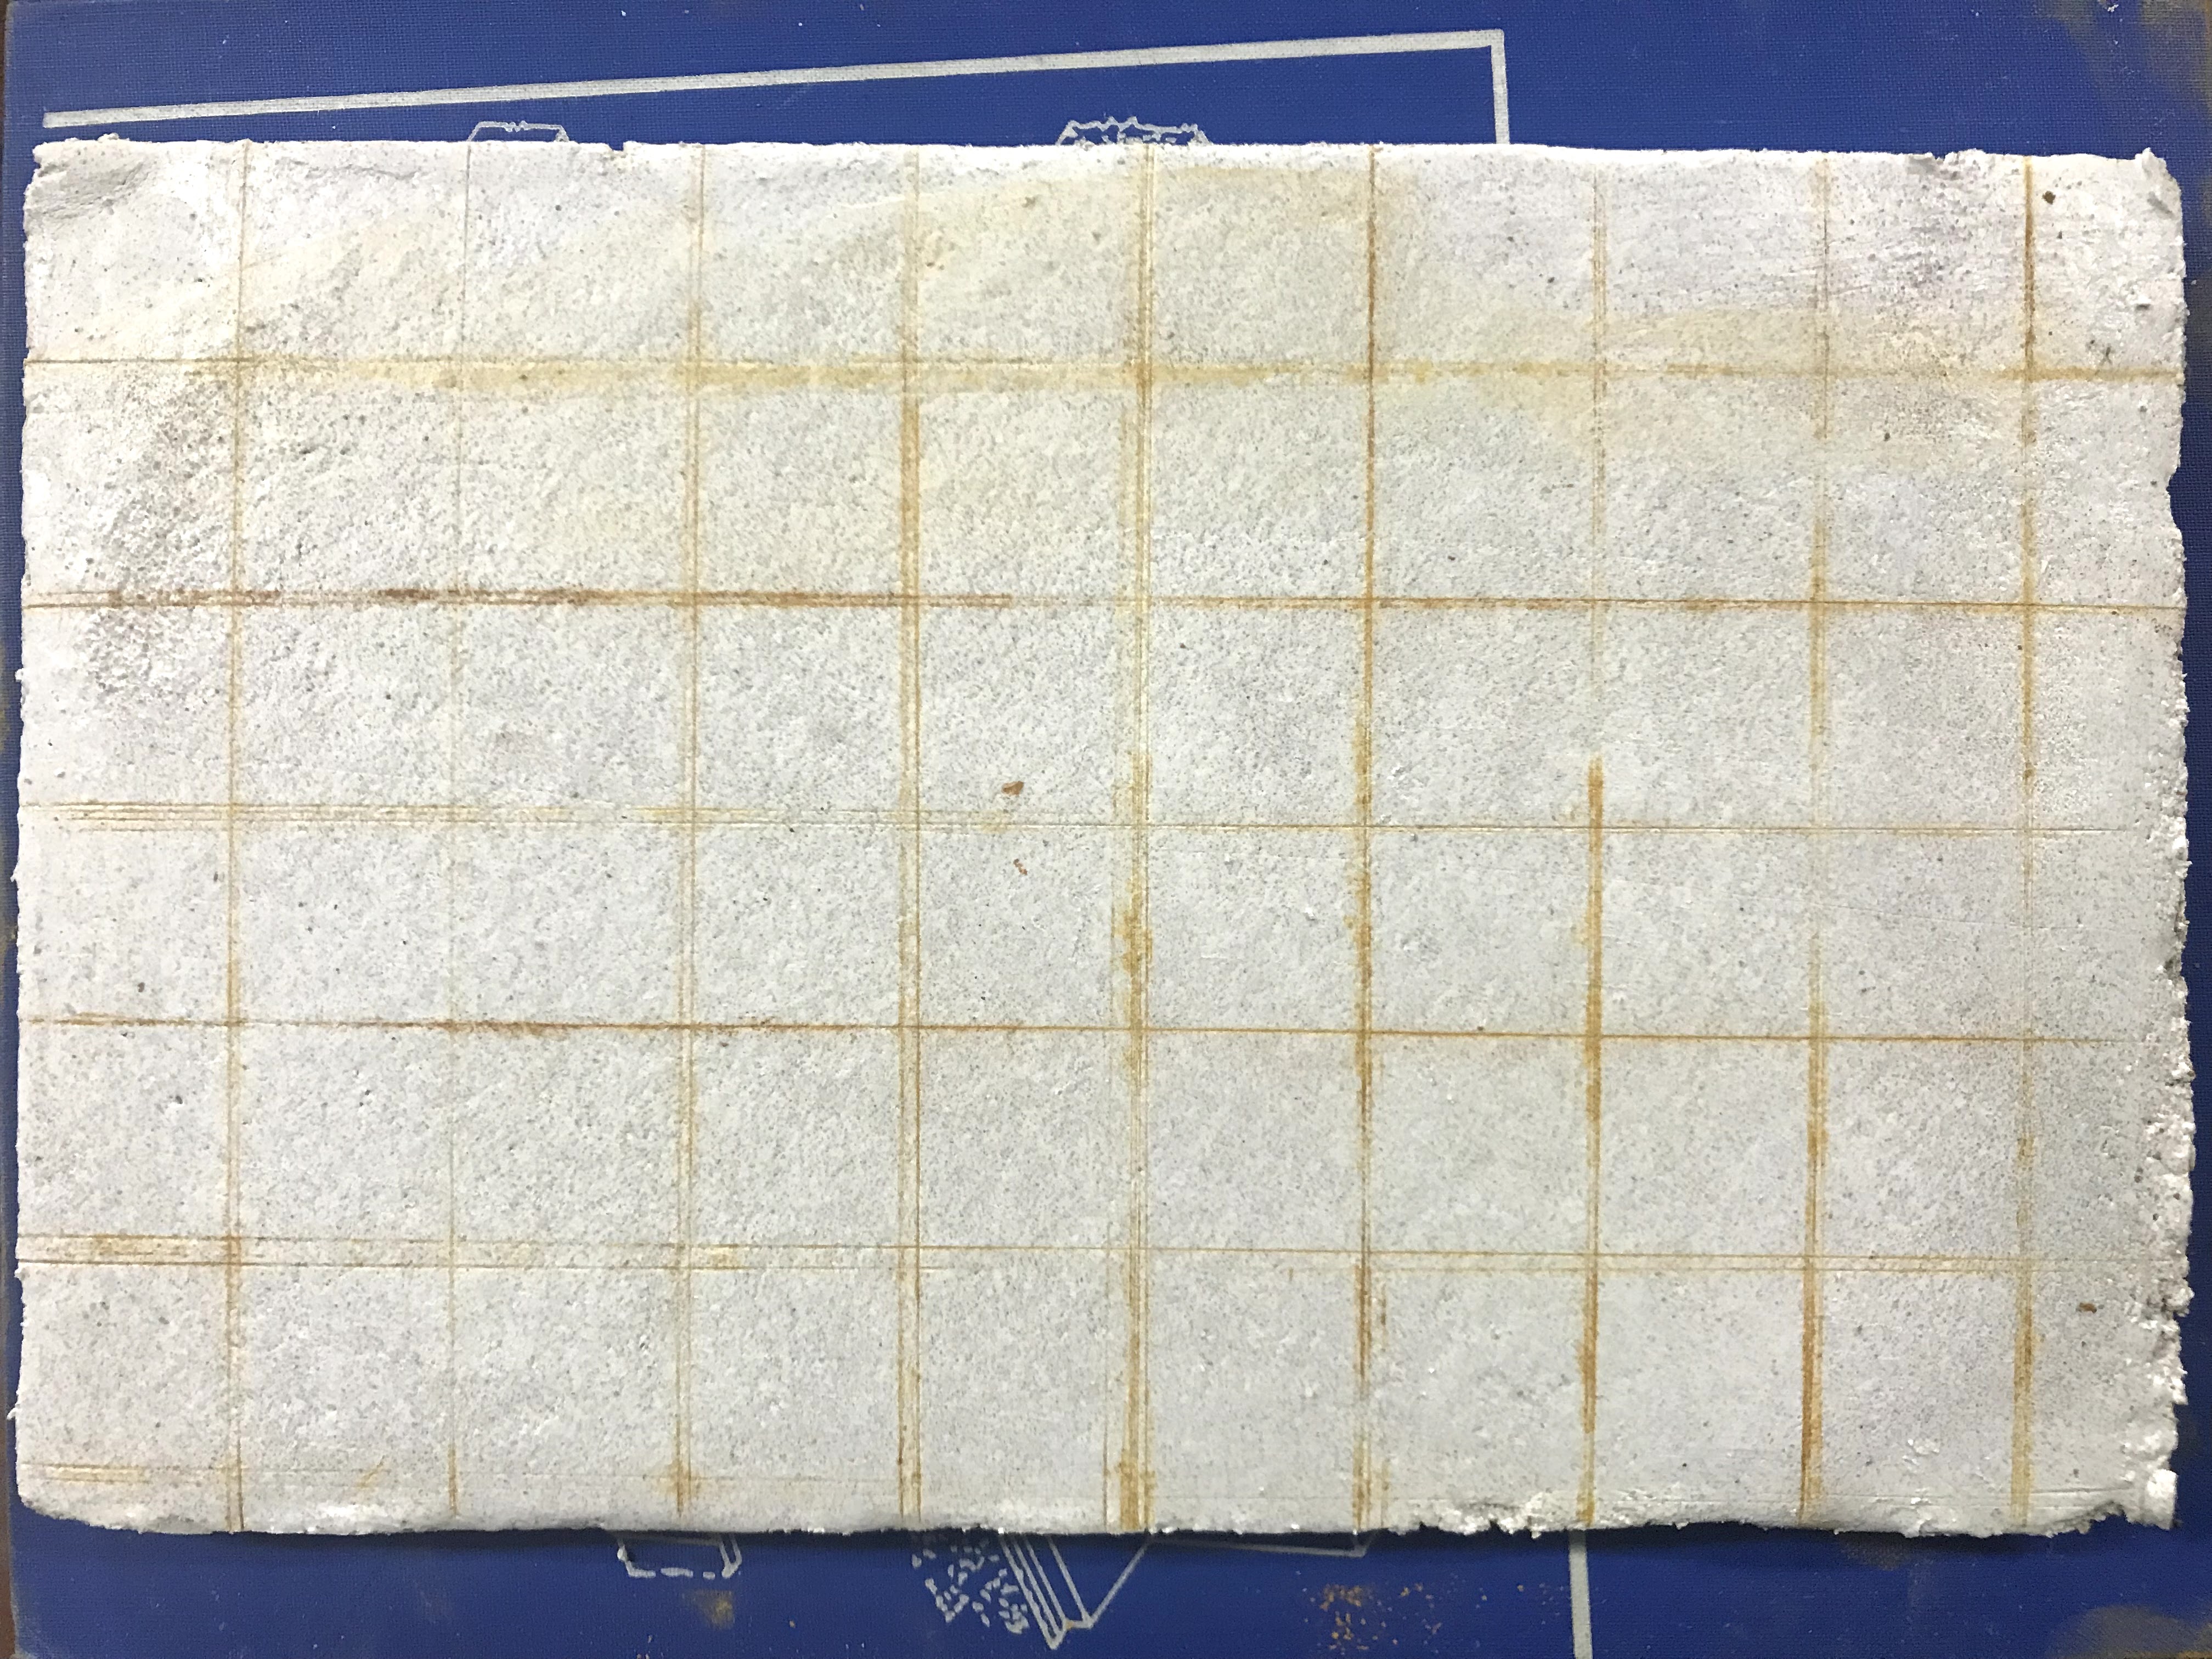
I tried laying out a design for the first fresco, but it was still a little to wet. I also tried using smalt for the background, which is a pigment made from blue glass. Smalt has to be ground coarsely, otherwise it would have no color to it, and I think because of its coarseness, it did not sink into the plaster.
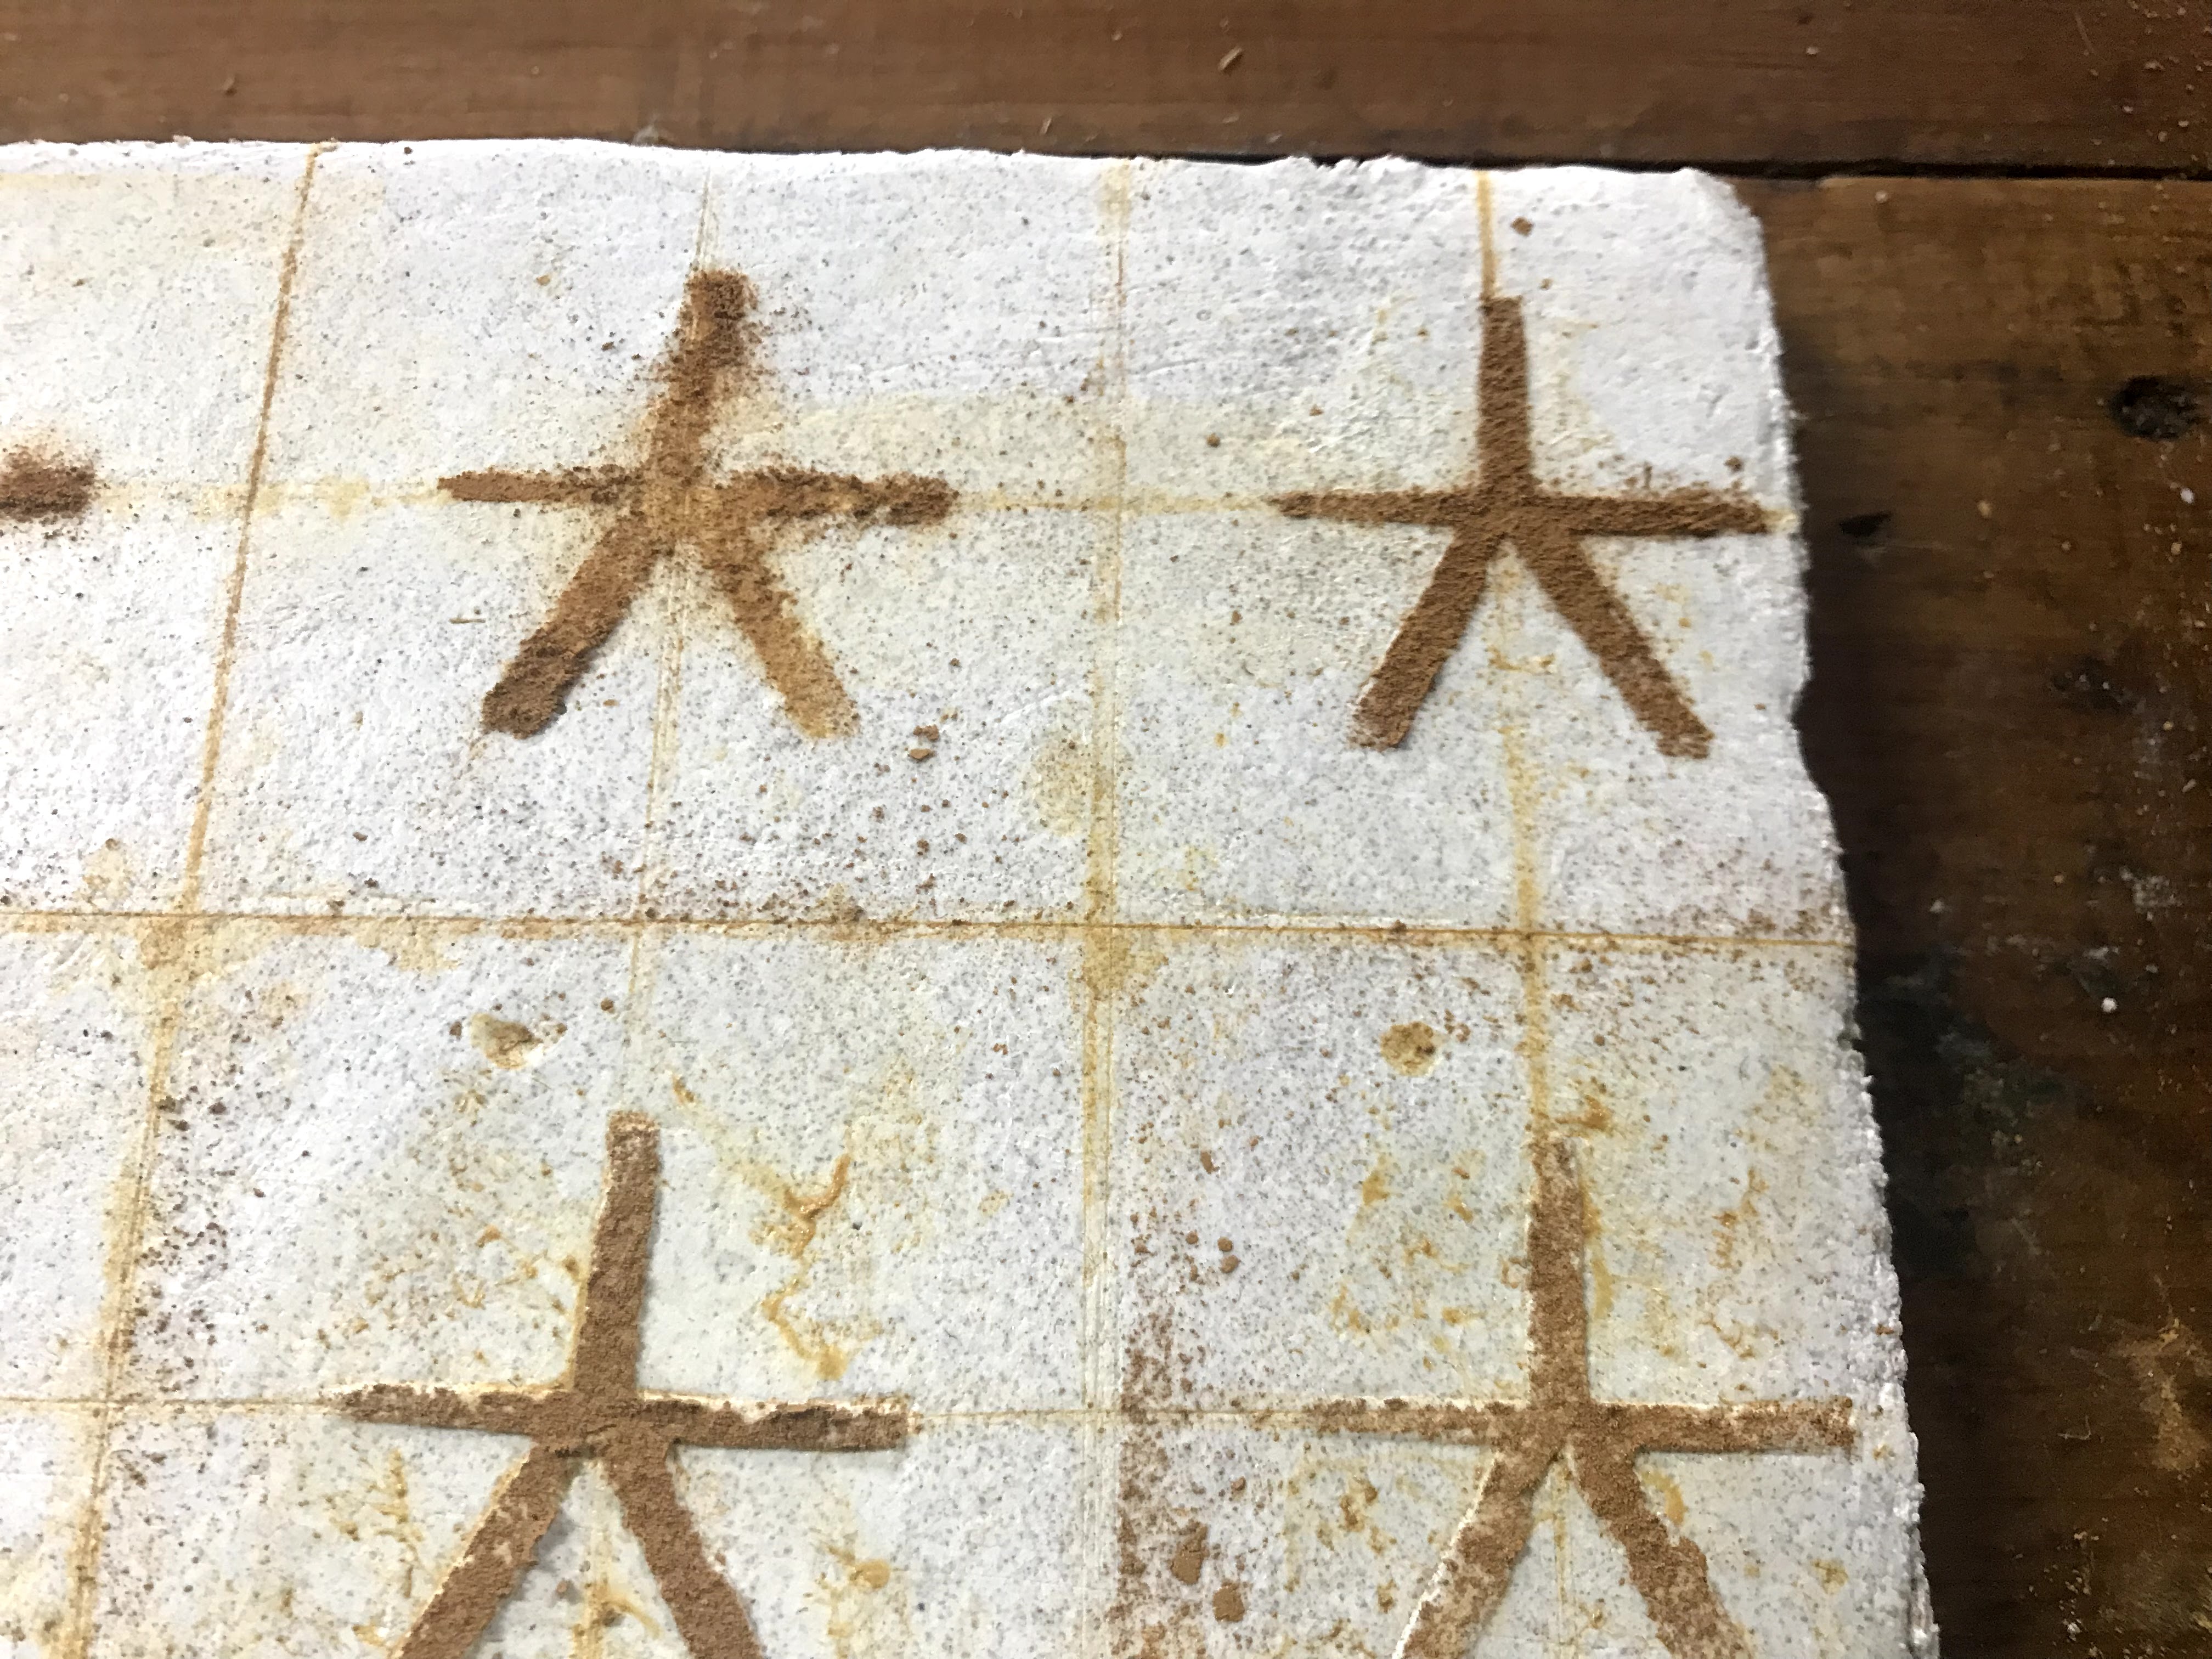
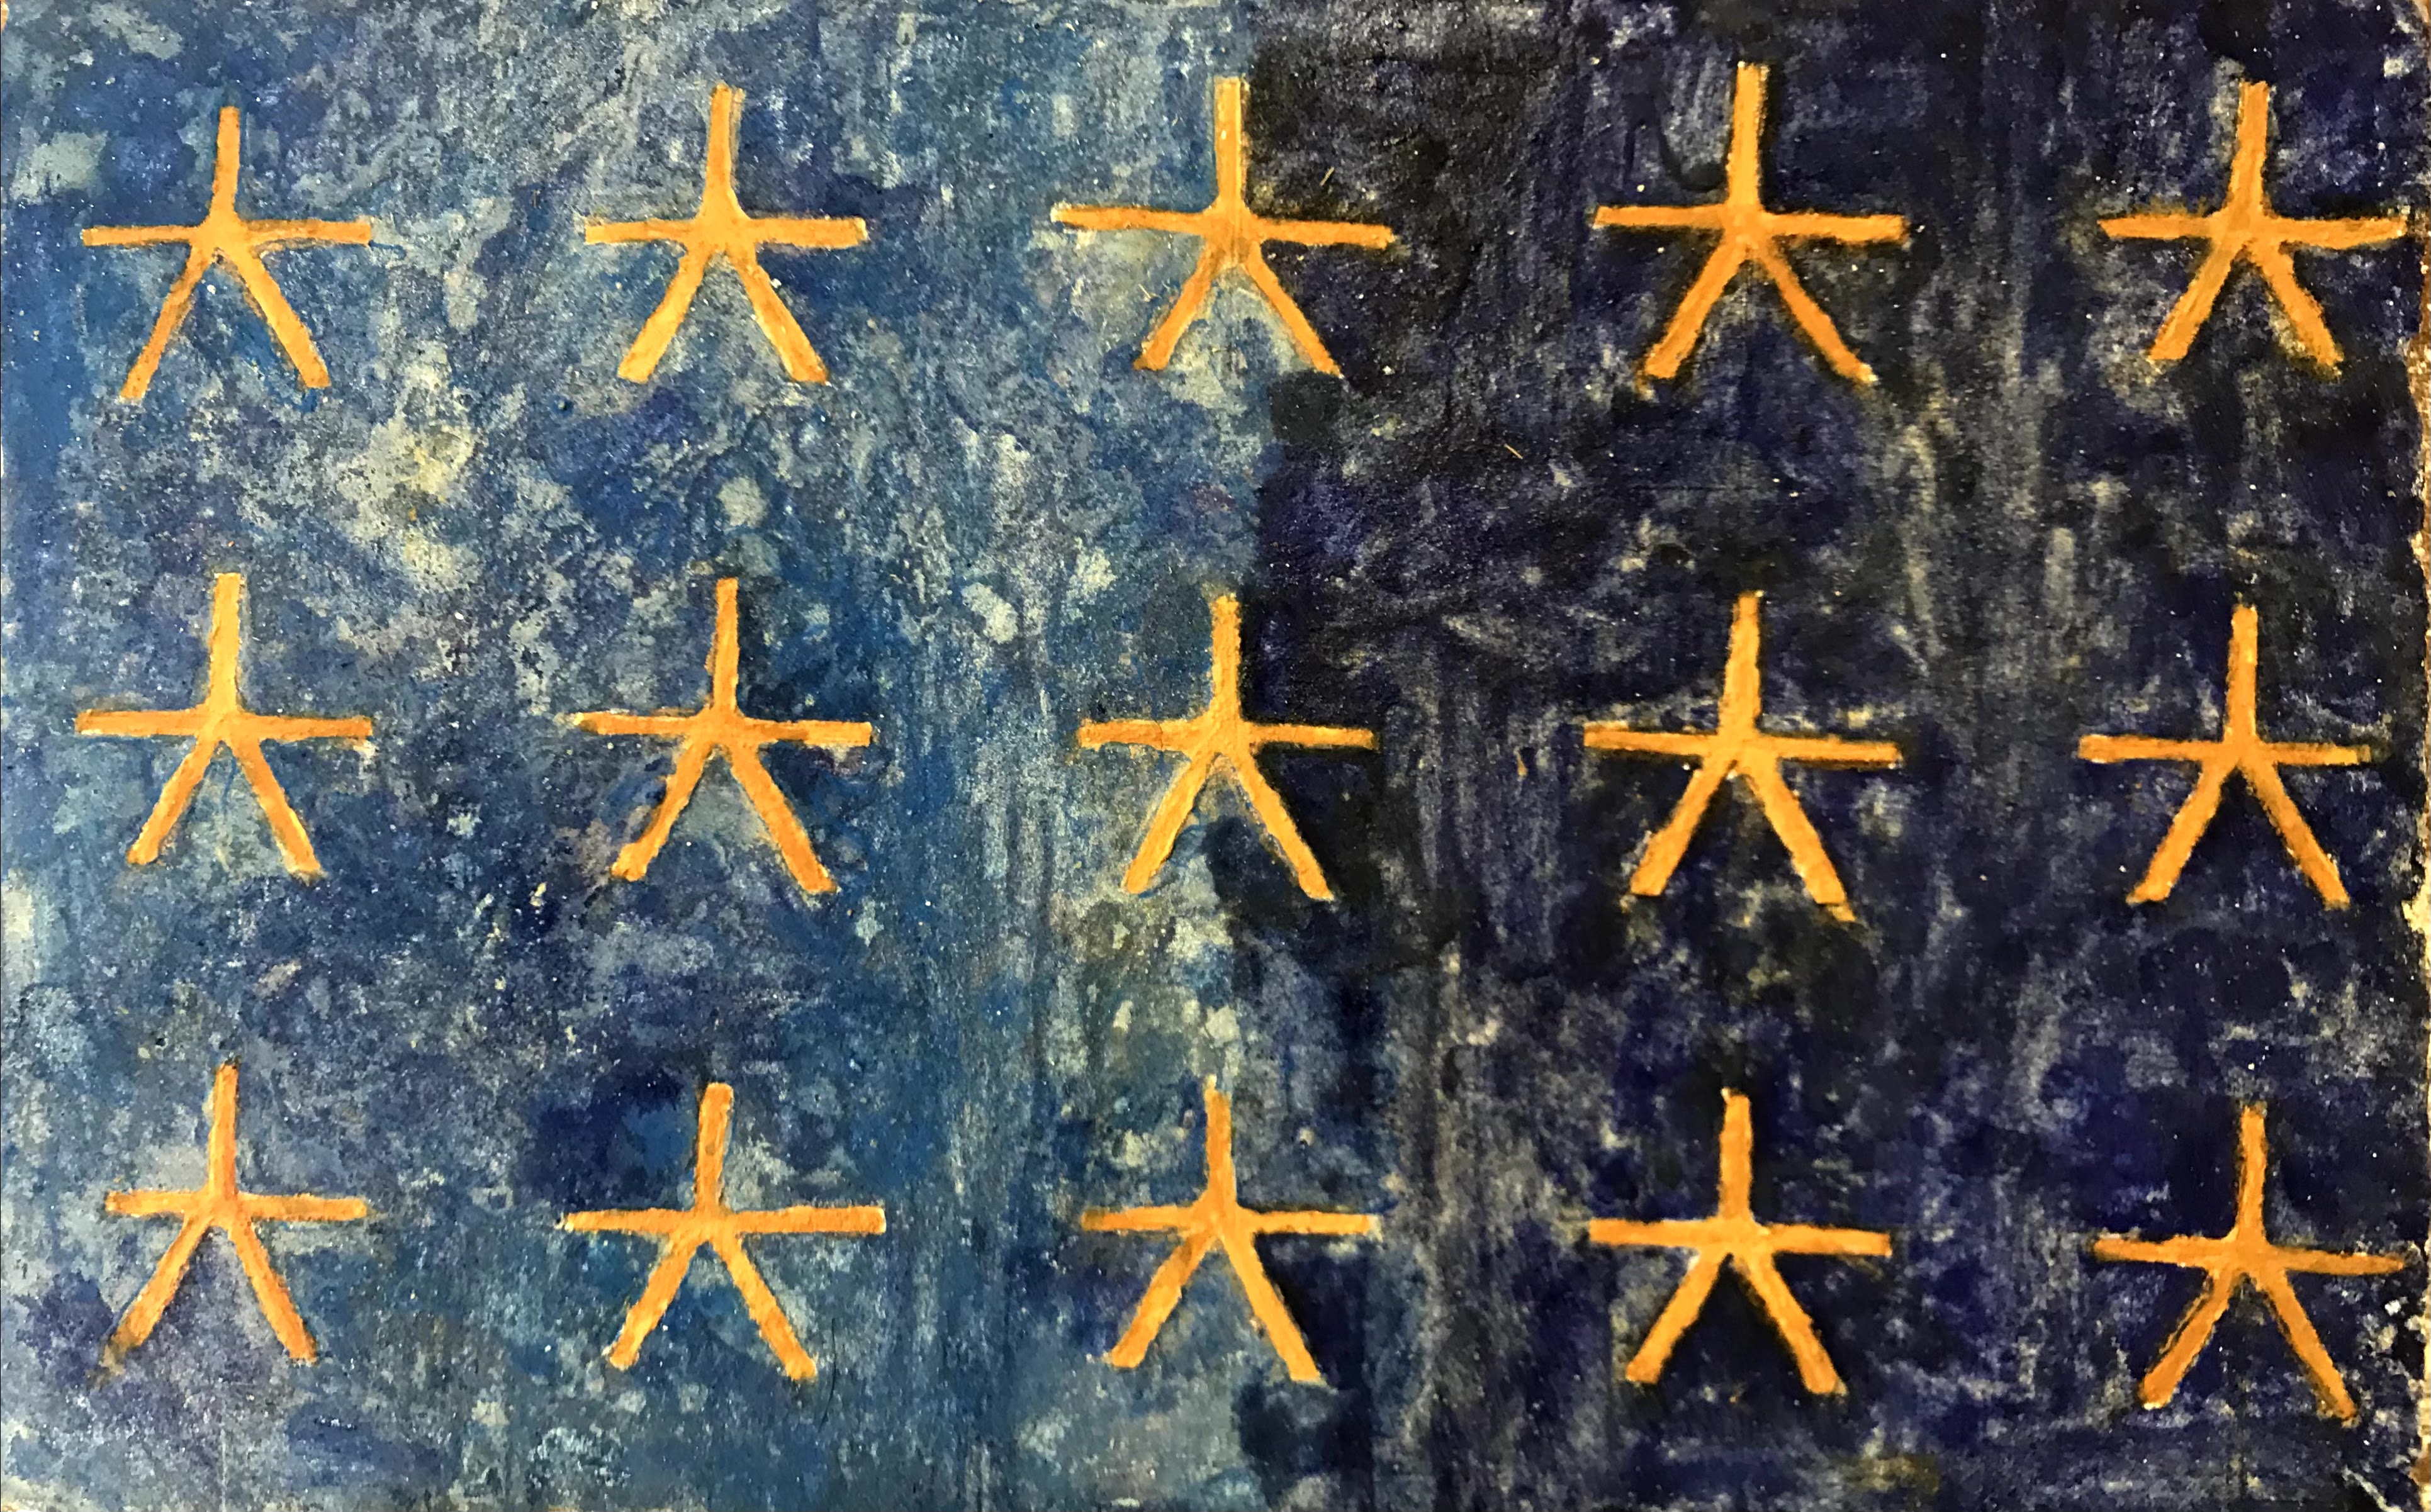
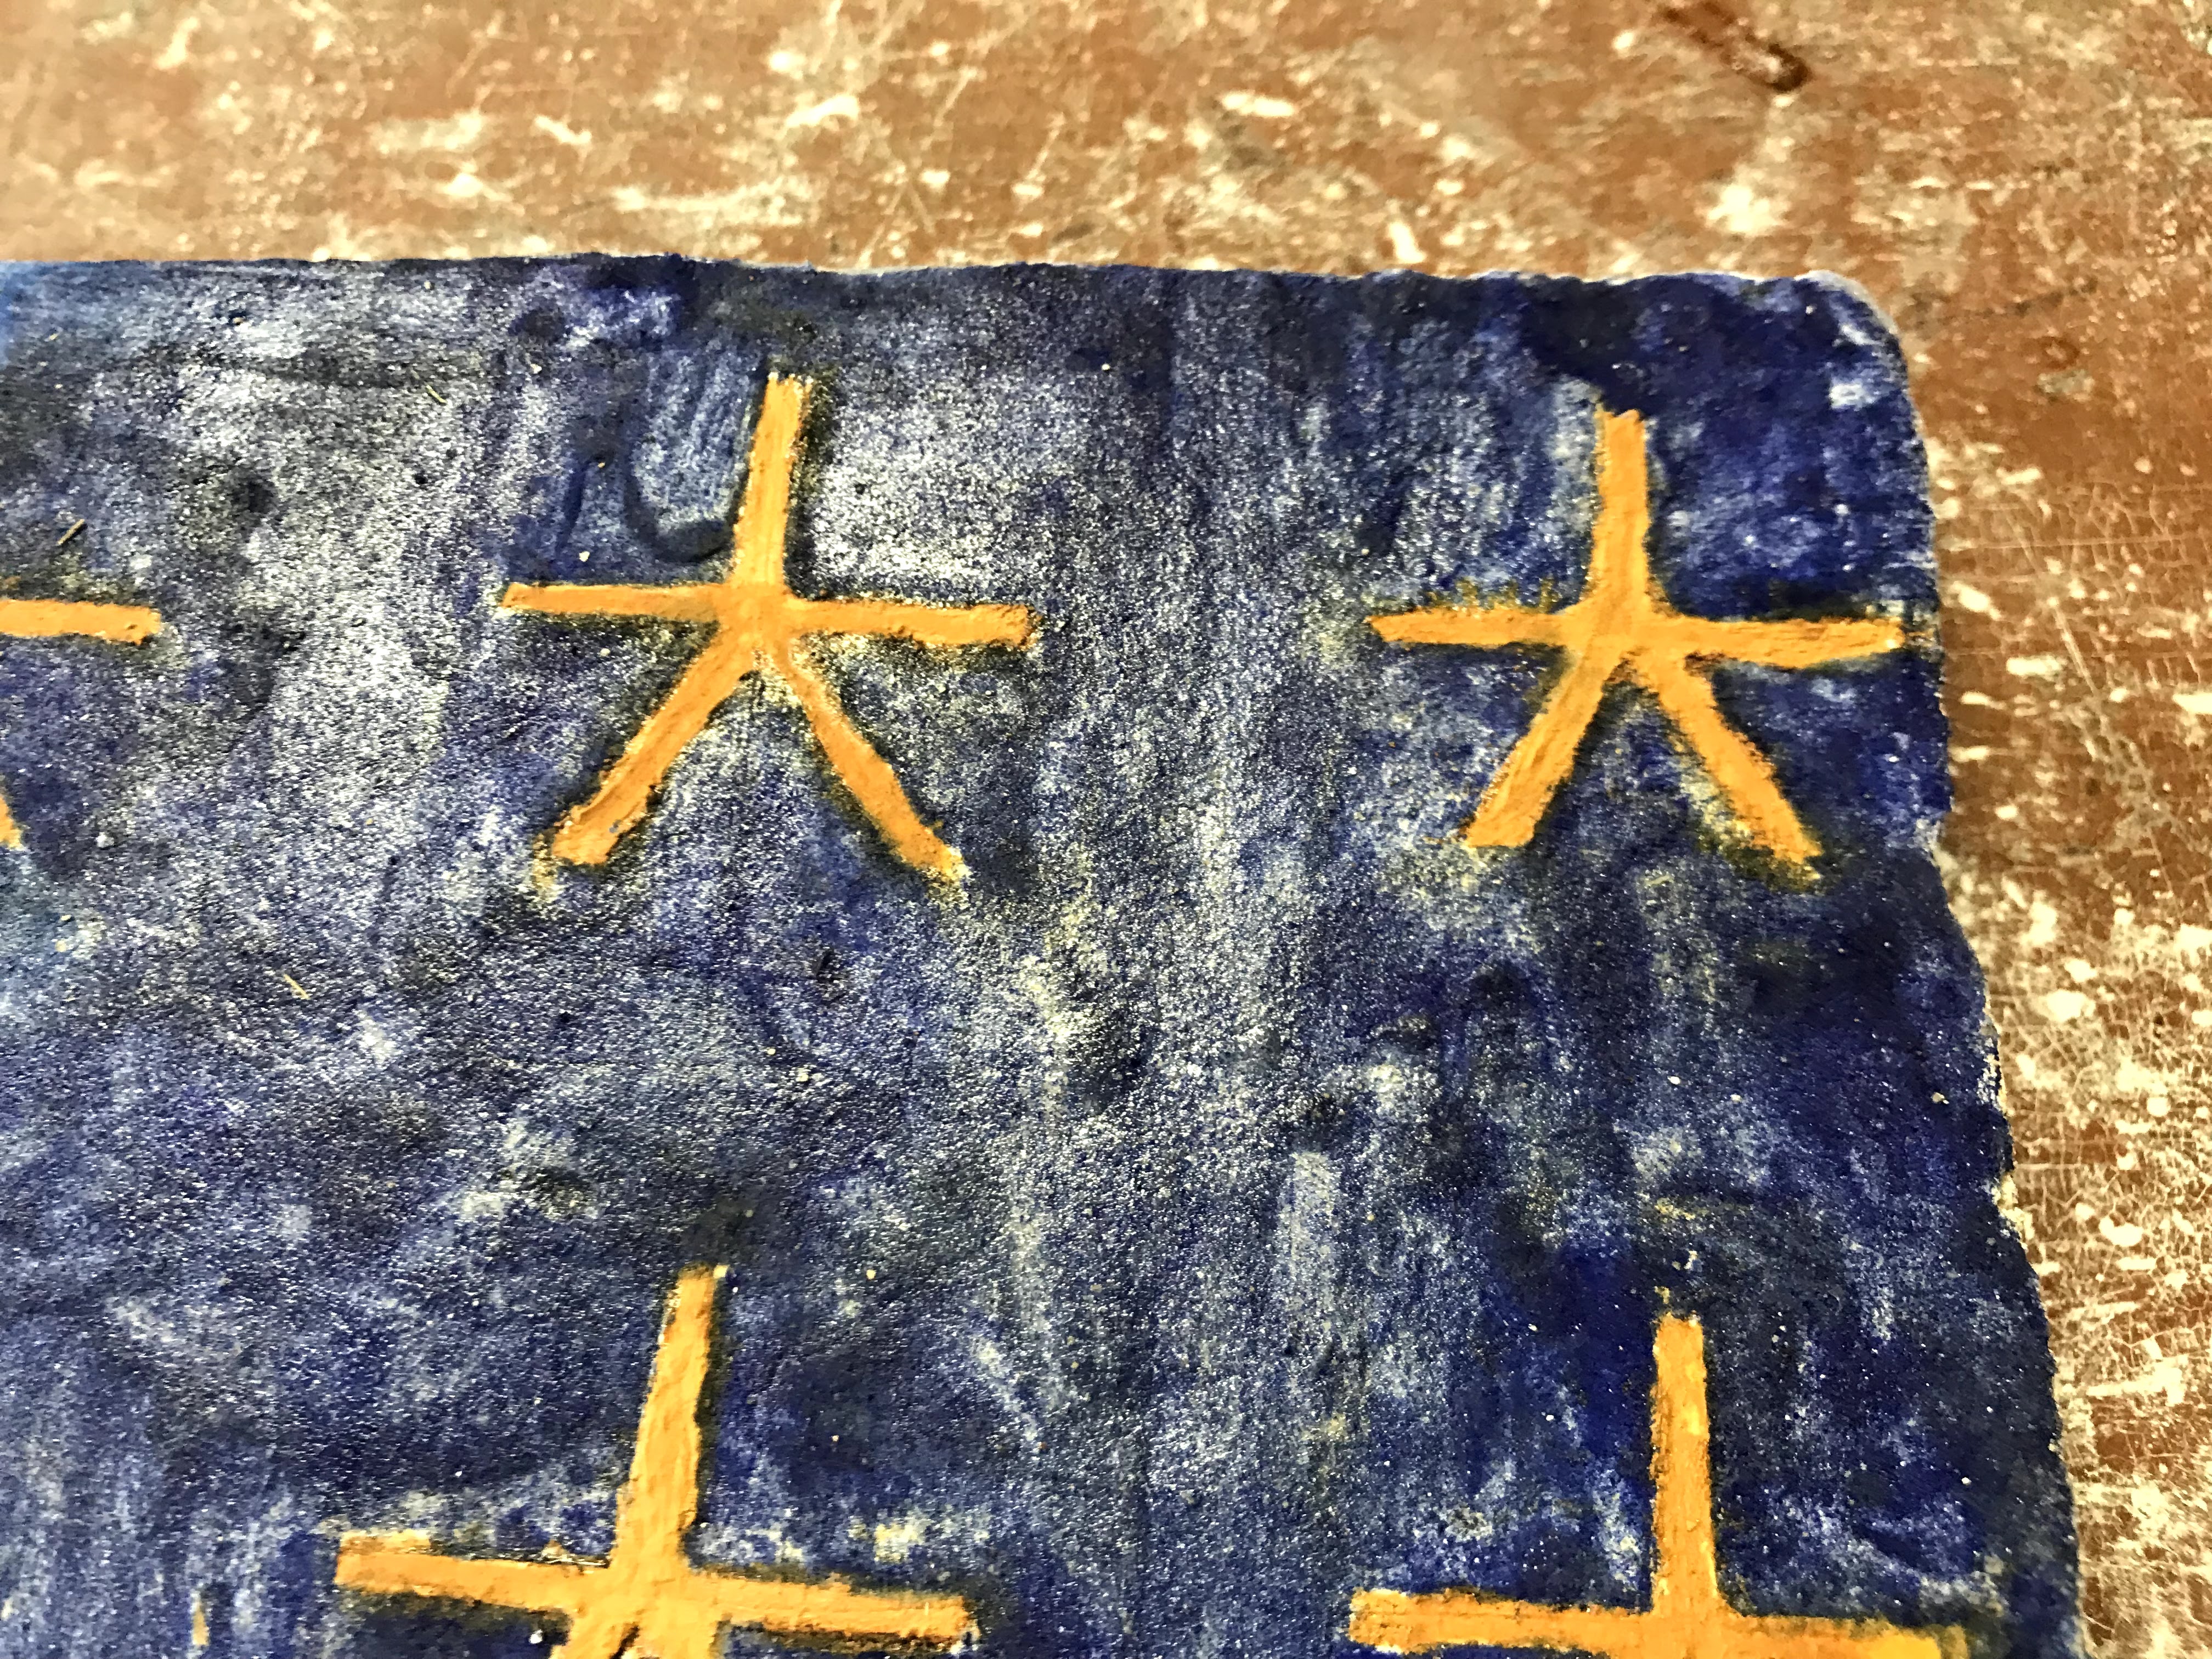
Because my smalt distemper was a failure for the most part, I ended up painting over it with watercolors for a little fresco secco. I did one half in blue bice (artificial azurite) and the other half in smalt again. These were more successful, and the smalt had its characteristic glassy shine when used as a watercolor.
My first fresco is far from perfect, but I learned a lot from going through the process. All of my understanding before came from reading about frescoes, so having first hand experience puts everything I’ve read in context. The process makes much more sense now, and I am ready to keep trying and failing a bit until I am a fresco master.
Stay tuned for more fresco attempts. I’ll leave off with the other fresco secco panels I did from the first batch.